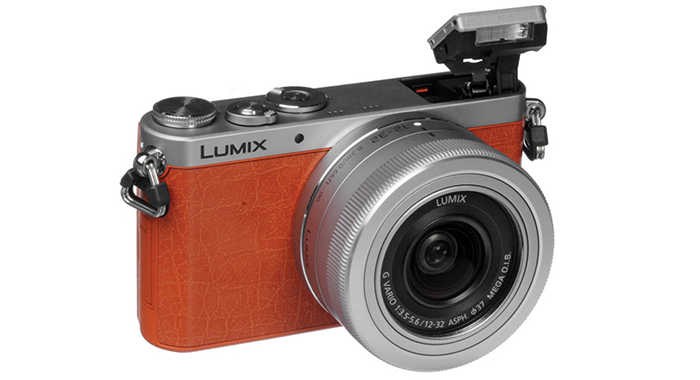
Dear Lumix… Just make THIS again!
As an owner of the GM1 I do understand Micro Four Nerds wants to see a a successor in the GM lineup! Make it a sort of mini S9 version with the new LUT features.
As an owner of the GM1 I do understand Micro Four Nerds wants to see a a successor in the GM lineup! Make it a sort of mini S9 version with the new LUT features.
Nigel Barros talks about the much loved Lumix GH5.
Fabian writes:
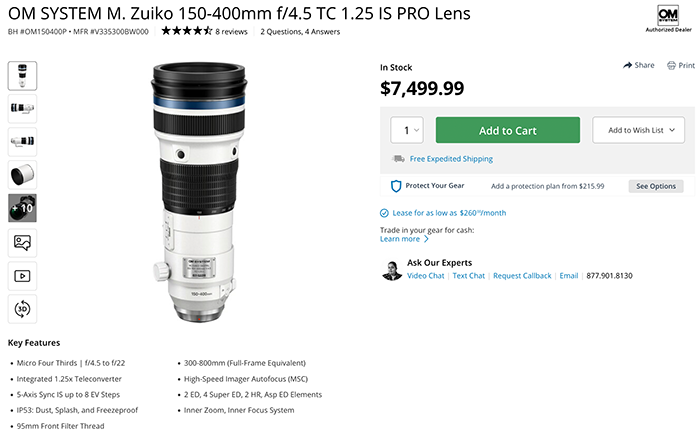
The OM-1 II comes with some impressive specifications and features, such as 50 frames per second in RAW and with AF, Precapture, an improved animal autofocus, a stacked sensor and much more. But how well does it perform in practice? Is the upgrade from the Olympus OM-1 worth it? I used the camera for a month and was able to take a number of photos of birds in various situations with the Olympus Zuiko 150-400mm f/4.5 TC.
The Panasonic GX9 is a cheap, compact and as good looking as the Fujifilm X100VI. Check out this review to hear why this might be a good alternative!
Micro four Nerds shared the personal choice of best and worst lenses ever made!
George writes:
The Lumix S9 and Lumix GX80 share some similarities, but mostly differences. As Lumix street photography cameras, these two are great options for street photographers.