A Landscape Photographer’s Review of the Olympus OM-D E-M1 Mark II (Matt Donovan).

This is a guest post from Matt Donovan and was first posted on itsworthashot.com.
–
A Landscape Photographer’s Review of the Olympus OM-D E-M1 Mark II
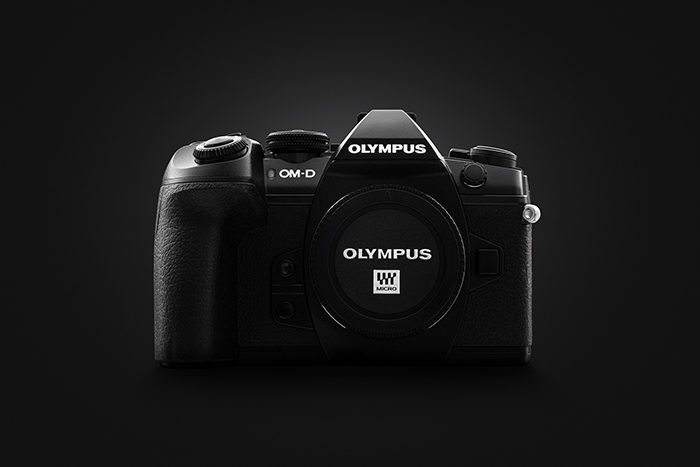
Once every few years or so a camera comes out that takes everyone by surprise by really pushing the boundaries of what we generally expect from a camera, both in terms of specs and features. For 2016/2017 the Olympus OM-D E-M1 Mark II was that camera. I’m a bit late with a review, but I’ve only fairly recently been able to get my hands on the E-M1 Mark II, so better late than never!
Price
The Olympus E-M1 Mark II retails for $2799.00AUD, but can be found through various retailers for a few hundred less.
A few important specs:
- Micro Four Thirds
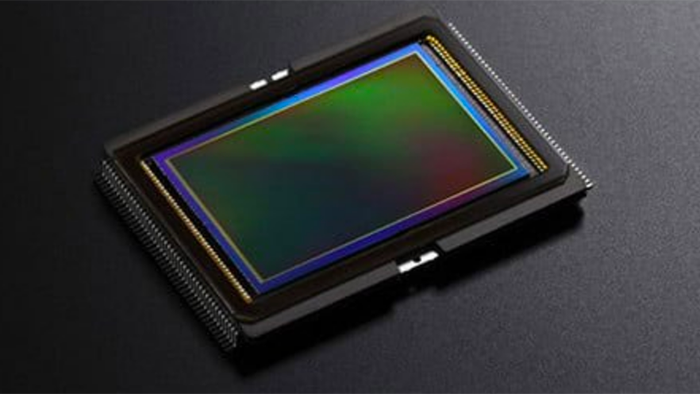
- 20.4 mp Live MOS sensor
- Weather-sealed body
- 18 fps AF/AE (with C-AF)
- 60 fps AF/AE (with S-AF)
- 121-point All-cross-type On-chip Phase Detection AF
- 4K (4096 x 2160) Video at 24P and 237 Mbps
- Fully articulating 3″ LCD display
- Dual SD card slots (Slot 1: UHS-I/II compatible, Slot 2: UHS-I compatible)
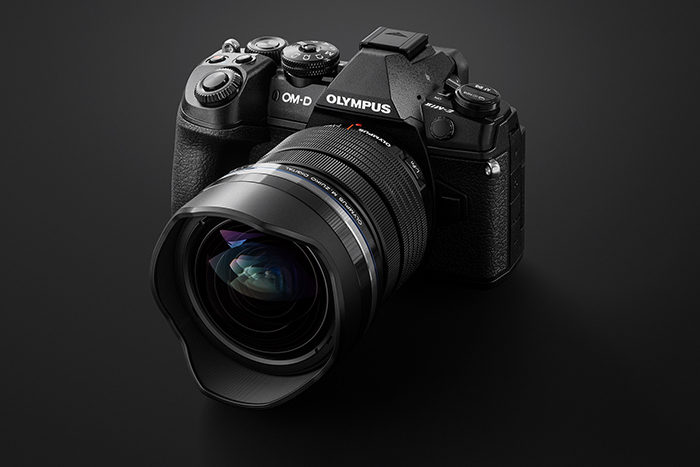
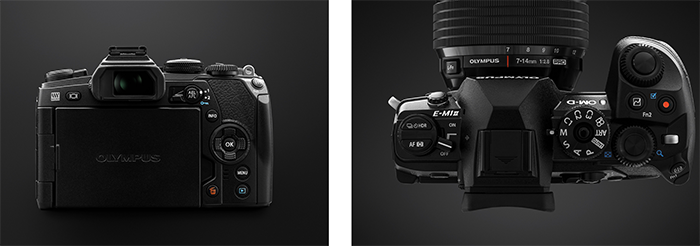
Build Quality and Handling
The E-M1 Mark II has a very DSLR like quality to it, both in terms of ergonomics and ruggedness (it’s a word, I looked it up). Ruggedness is a feeling I’ve come to miss since switching from a Canon DSLR to the Sony mirrorless system back in 2015. Constructed of magnesium alloy, the E-M1 Mark II is tough as nails. It’s splash proof, dust proof and freeze proof (down to -10ºC) making it perfect for a travelling landscape photographer.
My first experience with a mirrorless camera was with the Sony A7R, and I just assumed that all mirrorless cameras were awkward and impractical to hold (granted, they have slightly improved with the Mark II and III). When I first grabbed hold of the E-M1 Mark II I was pleasantly surprised – whilst it is on the smaller size of a DSLR it is incredibly comfortable to hold and my fingers seem to naturally fall on the most used buttons and dials.
Buttons and Dials, and Switches, Oh My! (customisability)
The customisability of the E-M1 Mark II is like nothing I’ve ever seen, it has to be the most customisable camera in existence? In fact, it’s so complicated/in-depth (in a good way) that it would be far too difficult to cover in this review – maybe that’s a post for another day? To give you an idea of just how customisable it is, you can even map the power from the traditional power switch to the function lever (you may have your reasons, I won’t judge). One thing I will say, once you get your buttons and settings customised just the way you want, don’t forget to back them up before you update the firmware… I learnt that the hard way.
Stabilisation
The stabilisation on the E-M1 Mark II is phenomenal, there’s no two ways about it. The stabilisation is built right into the camera with an impressive 5.5 stops of image stabilisation with the 5 axis stabilised sensor. This can allow shots to be handheld now that would have otherwise required the use of a tripod, Olympus lens or not. On top of this, Olympus also offers two lenses (at this point in time) with built in stabilisation that syncs with the IS of the camera body, resulting in 6.5 stops of stabilisation for the 12-100mm f/4 IS PRO and 6 stops for the 300mm f/4 IS PRO. Olympus calls this ‘Sync-IS’.
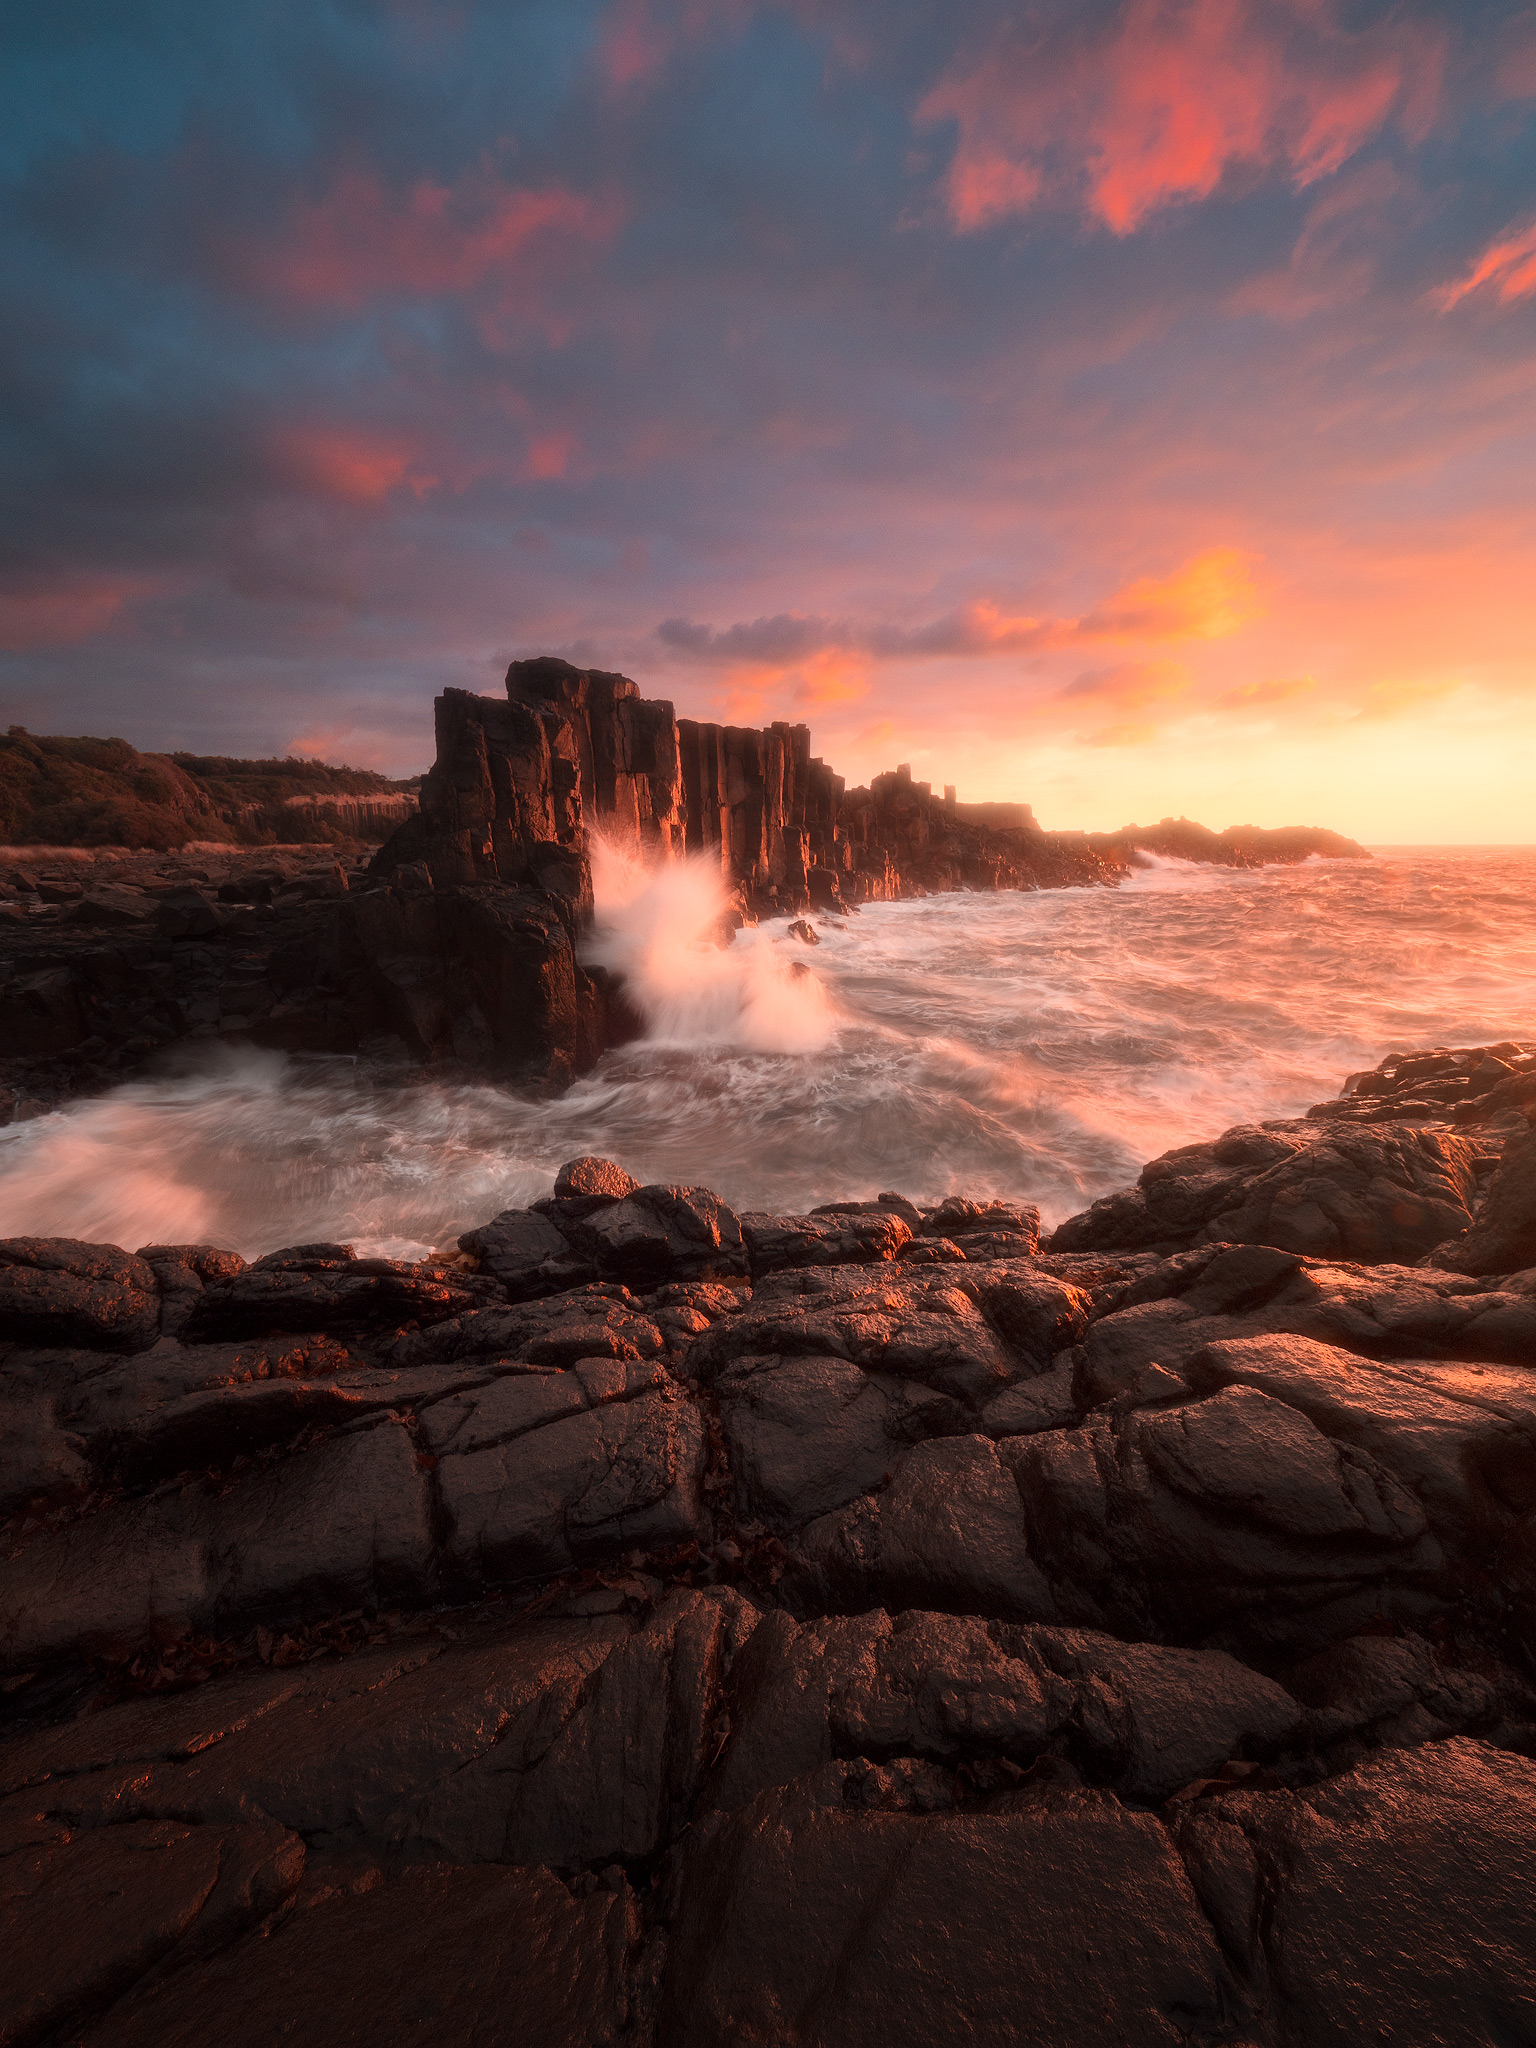
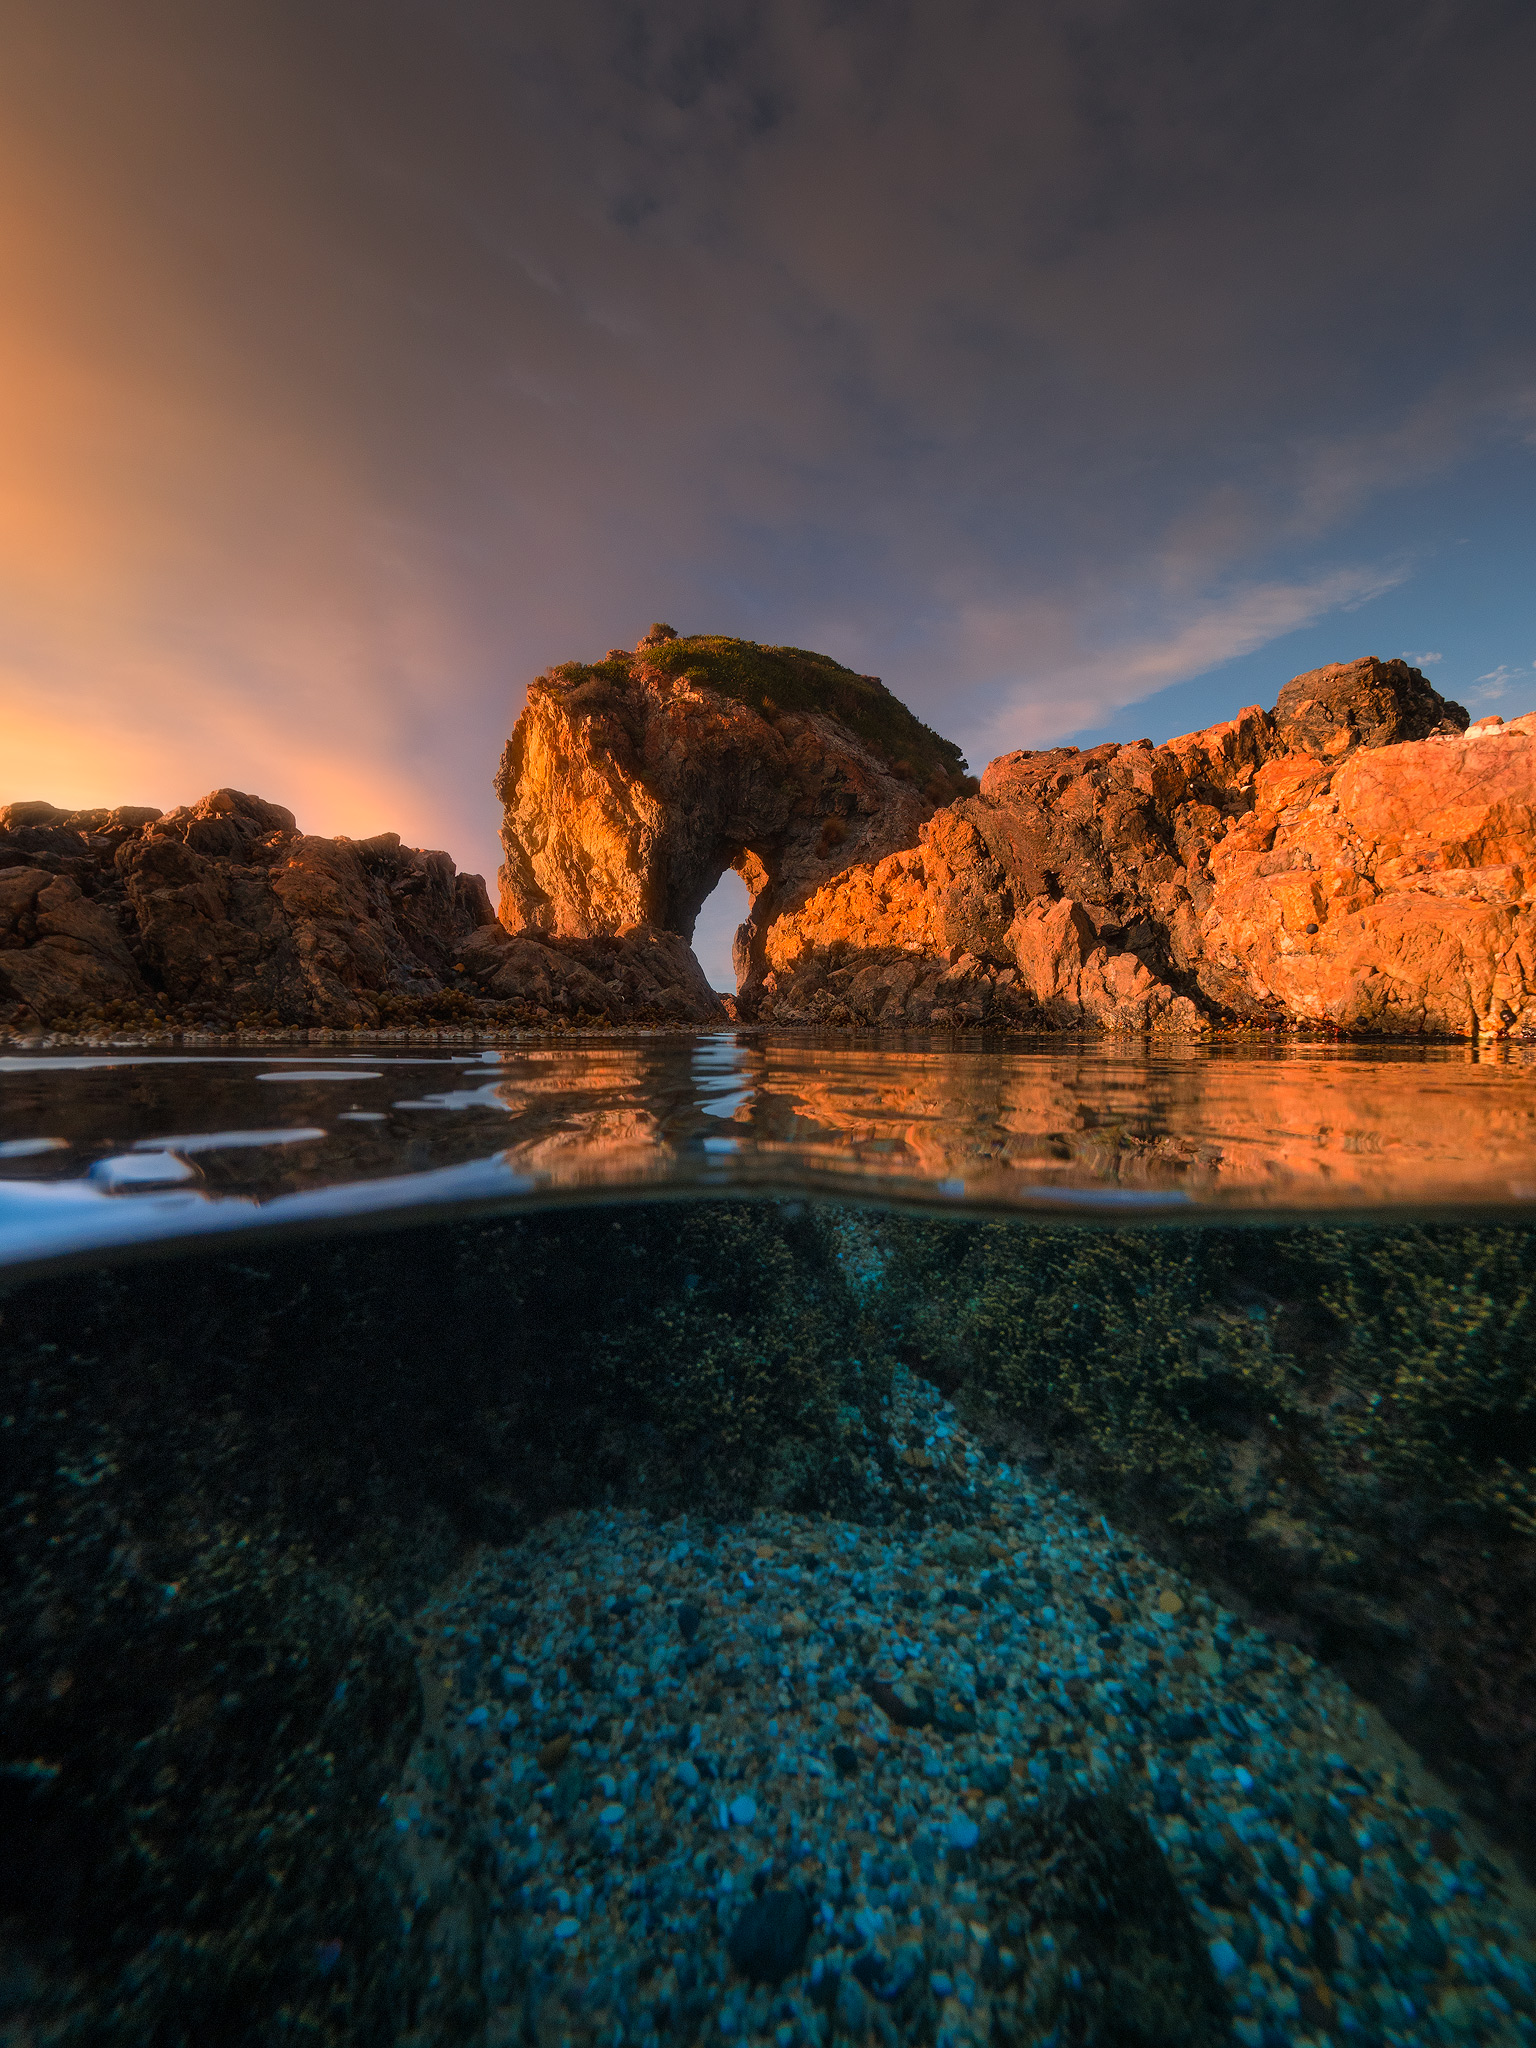
Less talky, more showing real world examples! Here is a shot at 7mm (14mm ’35mm’ equivalent) and shutter speed of 1/4 sec. 1/4 second doesn’t seem too groundbreakingly slow, and it’s not (believe me, you can shoot much slower), but what IS impressive is the fact that this is a handheld exposure blend, with ZERO alignment necessary in Photoshop. The fact that I can now capture handheld multiple exposure blends in low light is beyond impressive.
Battery Life and Charging
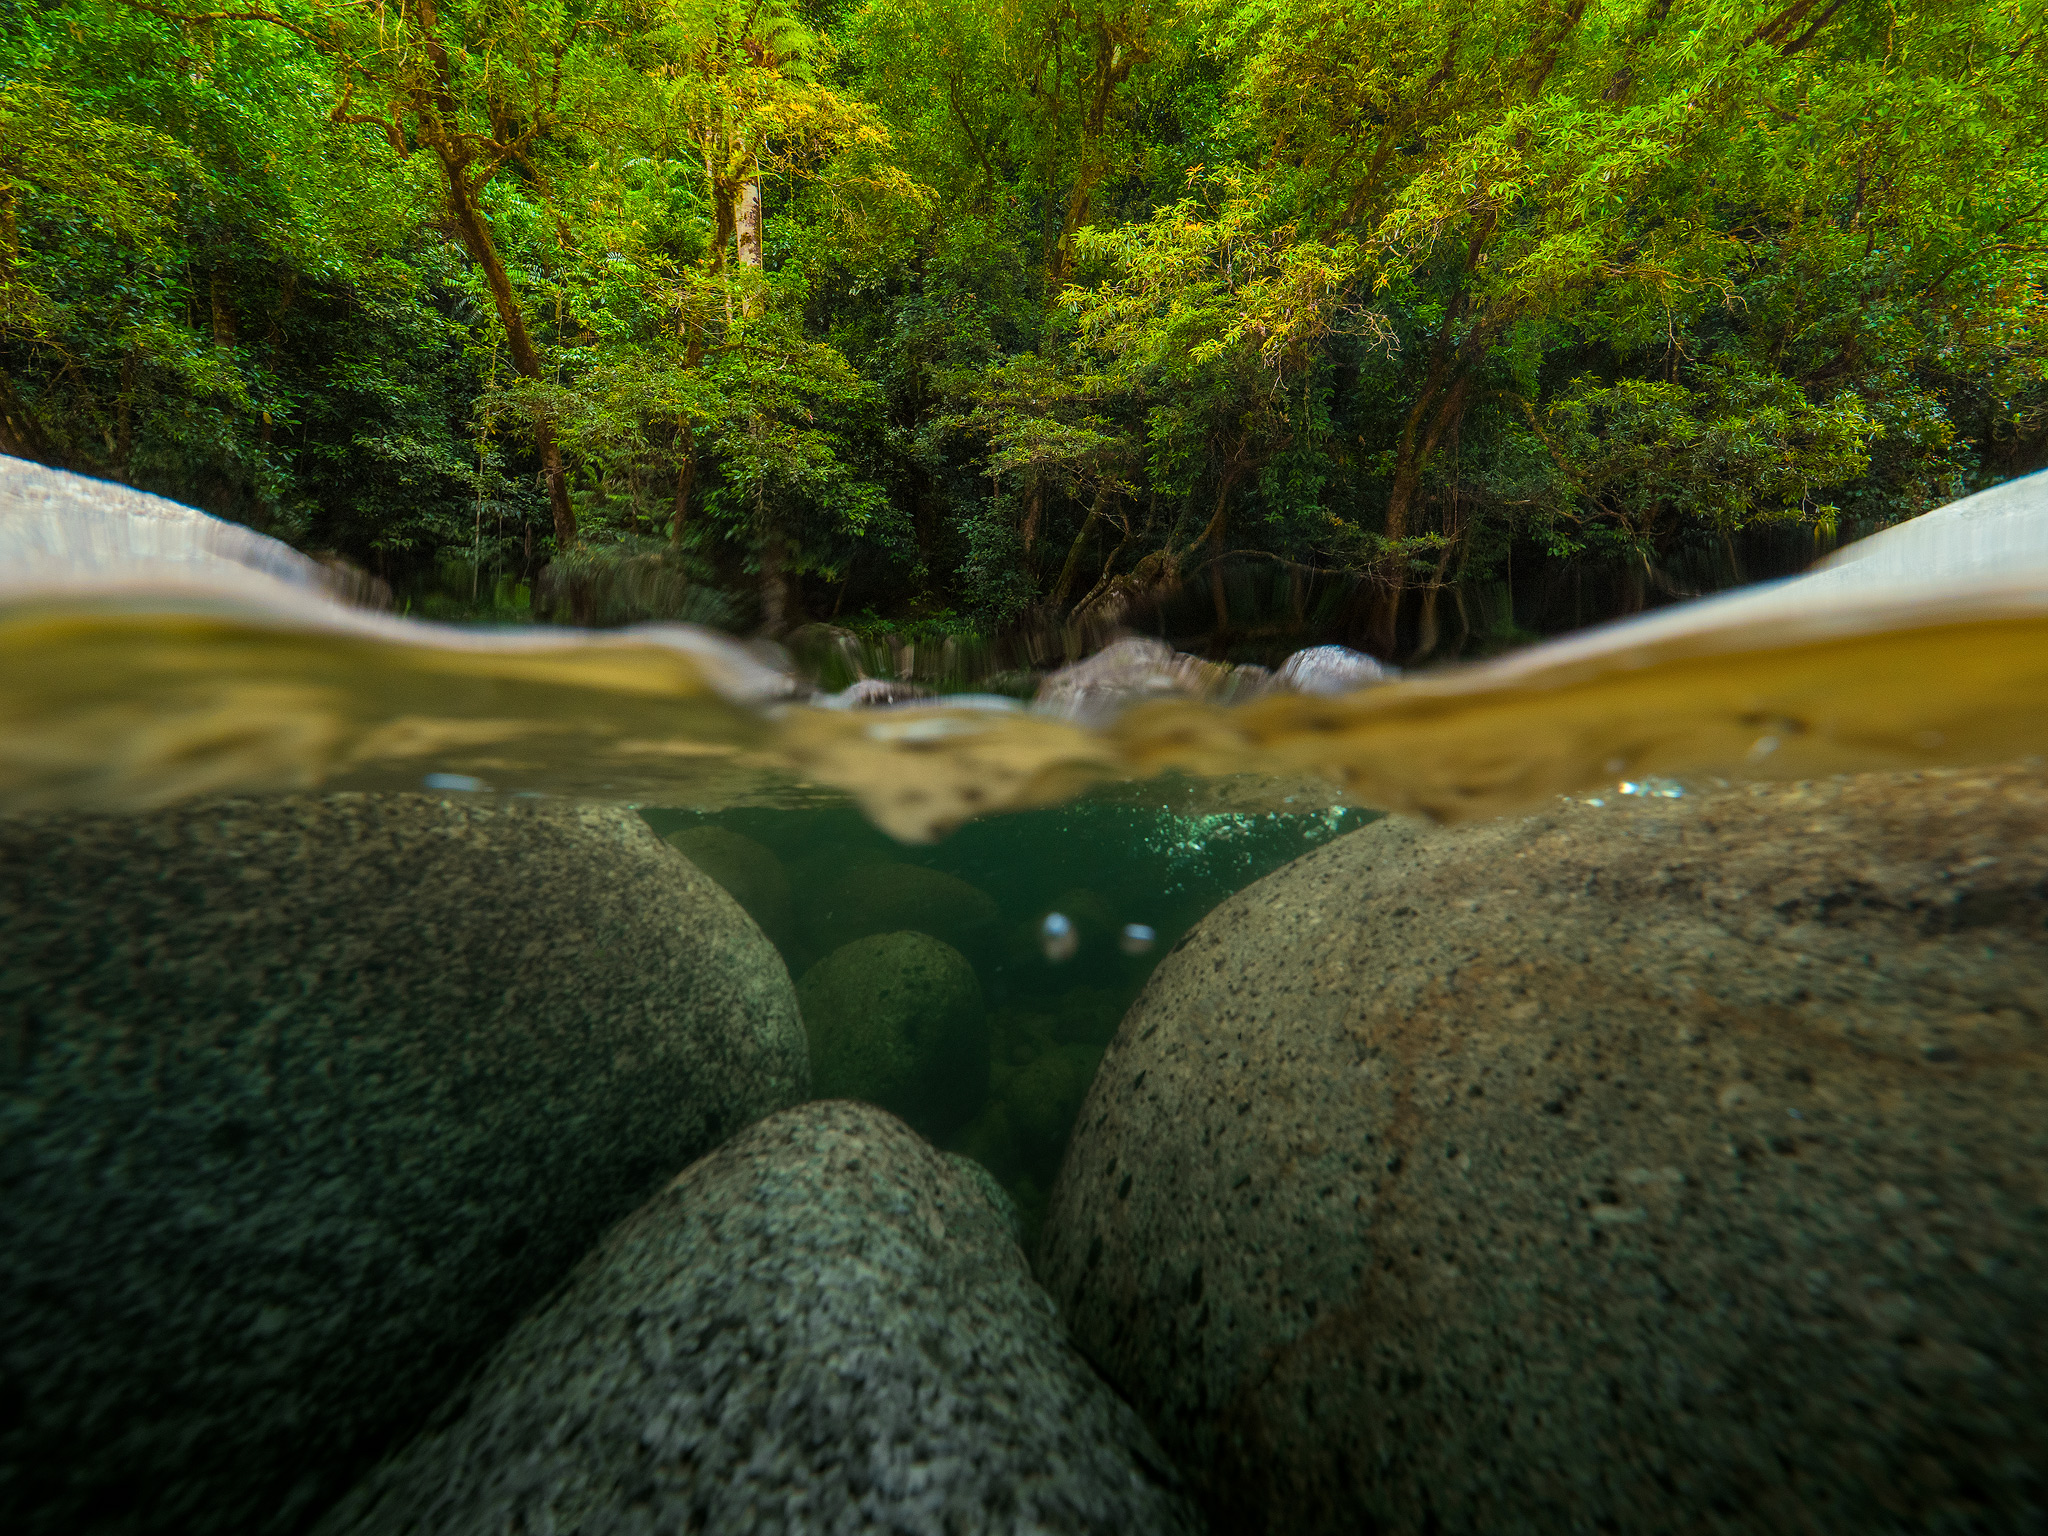
The battery life has honestly blown me away with the E-M1 Mark II. It’s rated to approximately 440 shots with the upgraded battery from it’s predecessor. I actually, spent a good several hours snorkelling with this camera, came away with probably 200-300 images and the battery was still at around 85%. So, I’d say (depending on whether you’re shooting mechanical or electronic shutter), you’d be looking at closer to several thousand images per battery charge.
Not only does the battery power through thousands of images and last for entire day shoots, it’s also incredibly fast charging. It can go from completely empty to 100% and ready for another full days work in a matter of 90 minutes (approximately). That means that I can probably go days on a full charge (I shoot very sparingly) as opposed to a few hours with the Sony A7R – which is actually one of Sony’s biggest downfalls.
Features
The E-M1 Mark II is certainly no slouch when it comes to features – they’re in abundance. At first glance, these features might come across as a little gimmicky and only for the beginner/enthusiast market, but once I started to use features like High Res Shot, Focus Bracketing and Live Composite; I was hooked, and can 100% see myself using them in a professional environment.
High Res Shot
Whilst High Res Shot isn’t a new feature to the Olympus lineup, it is certainly the most refined and pixel dense version of the feature. So, what is ‘High Res Shot’ and why did it find a place in my favourite features? High Res Shot is a mode in which the E-M1’s sensor is able to capture a higher resolution image by shifting the position of the 20mp sensor, 8 times, in half pixel increments, capturing images at each increment and combining them using some fancy in-camera processing that I’m not smart enough to try and explain. This results in either a 50mp JPEG or 80mp RAW file (20mp sensor x 8 frames x 0.5 pixel).
As exciting as shooting an 80 megapixel RAW file on a tiny micro four thirds camera sounds, it’s not actually a “true” 80mp image. By that I mean, it doesn’t have the sharpness and detail you’d expect from an 80mp sensor, but more a 50mp sensor upscaled to 80mp. I believe this is why Olympus outputs a 50mp JPEG, because they are obviously aware of this features limitations. Now, I’m no maths/science genius, but this may have something to do with the resolving power of the lenses? Or the processing of the stacked images in camera? Someone correct me if I’m wrong!
There are a few other limitations when shooting in High Res Shot such as being restricted to the use of a tripod, camera settings are limited to a maximum aperture of f/8 and max ISO of 1600 (shutter speed is now unrestricted – yay) and also shooting scenes with moving subjects can be difficult i.e. trees, water, clouds etc. It goes without saying you could never shoot a portrait using High Res Shot… unless it’s a portrait of a robot?
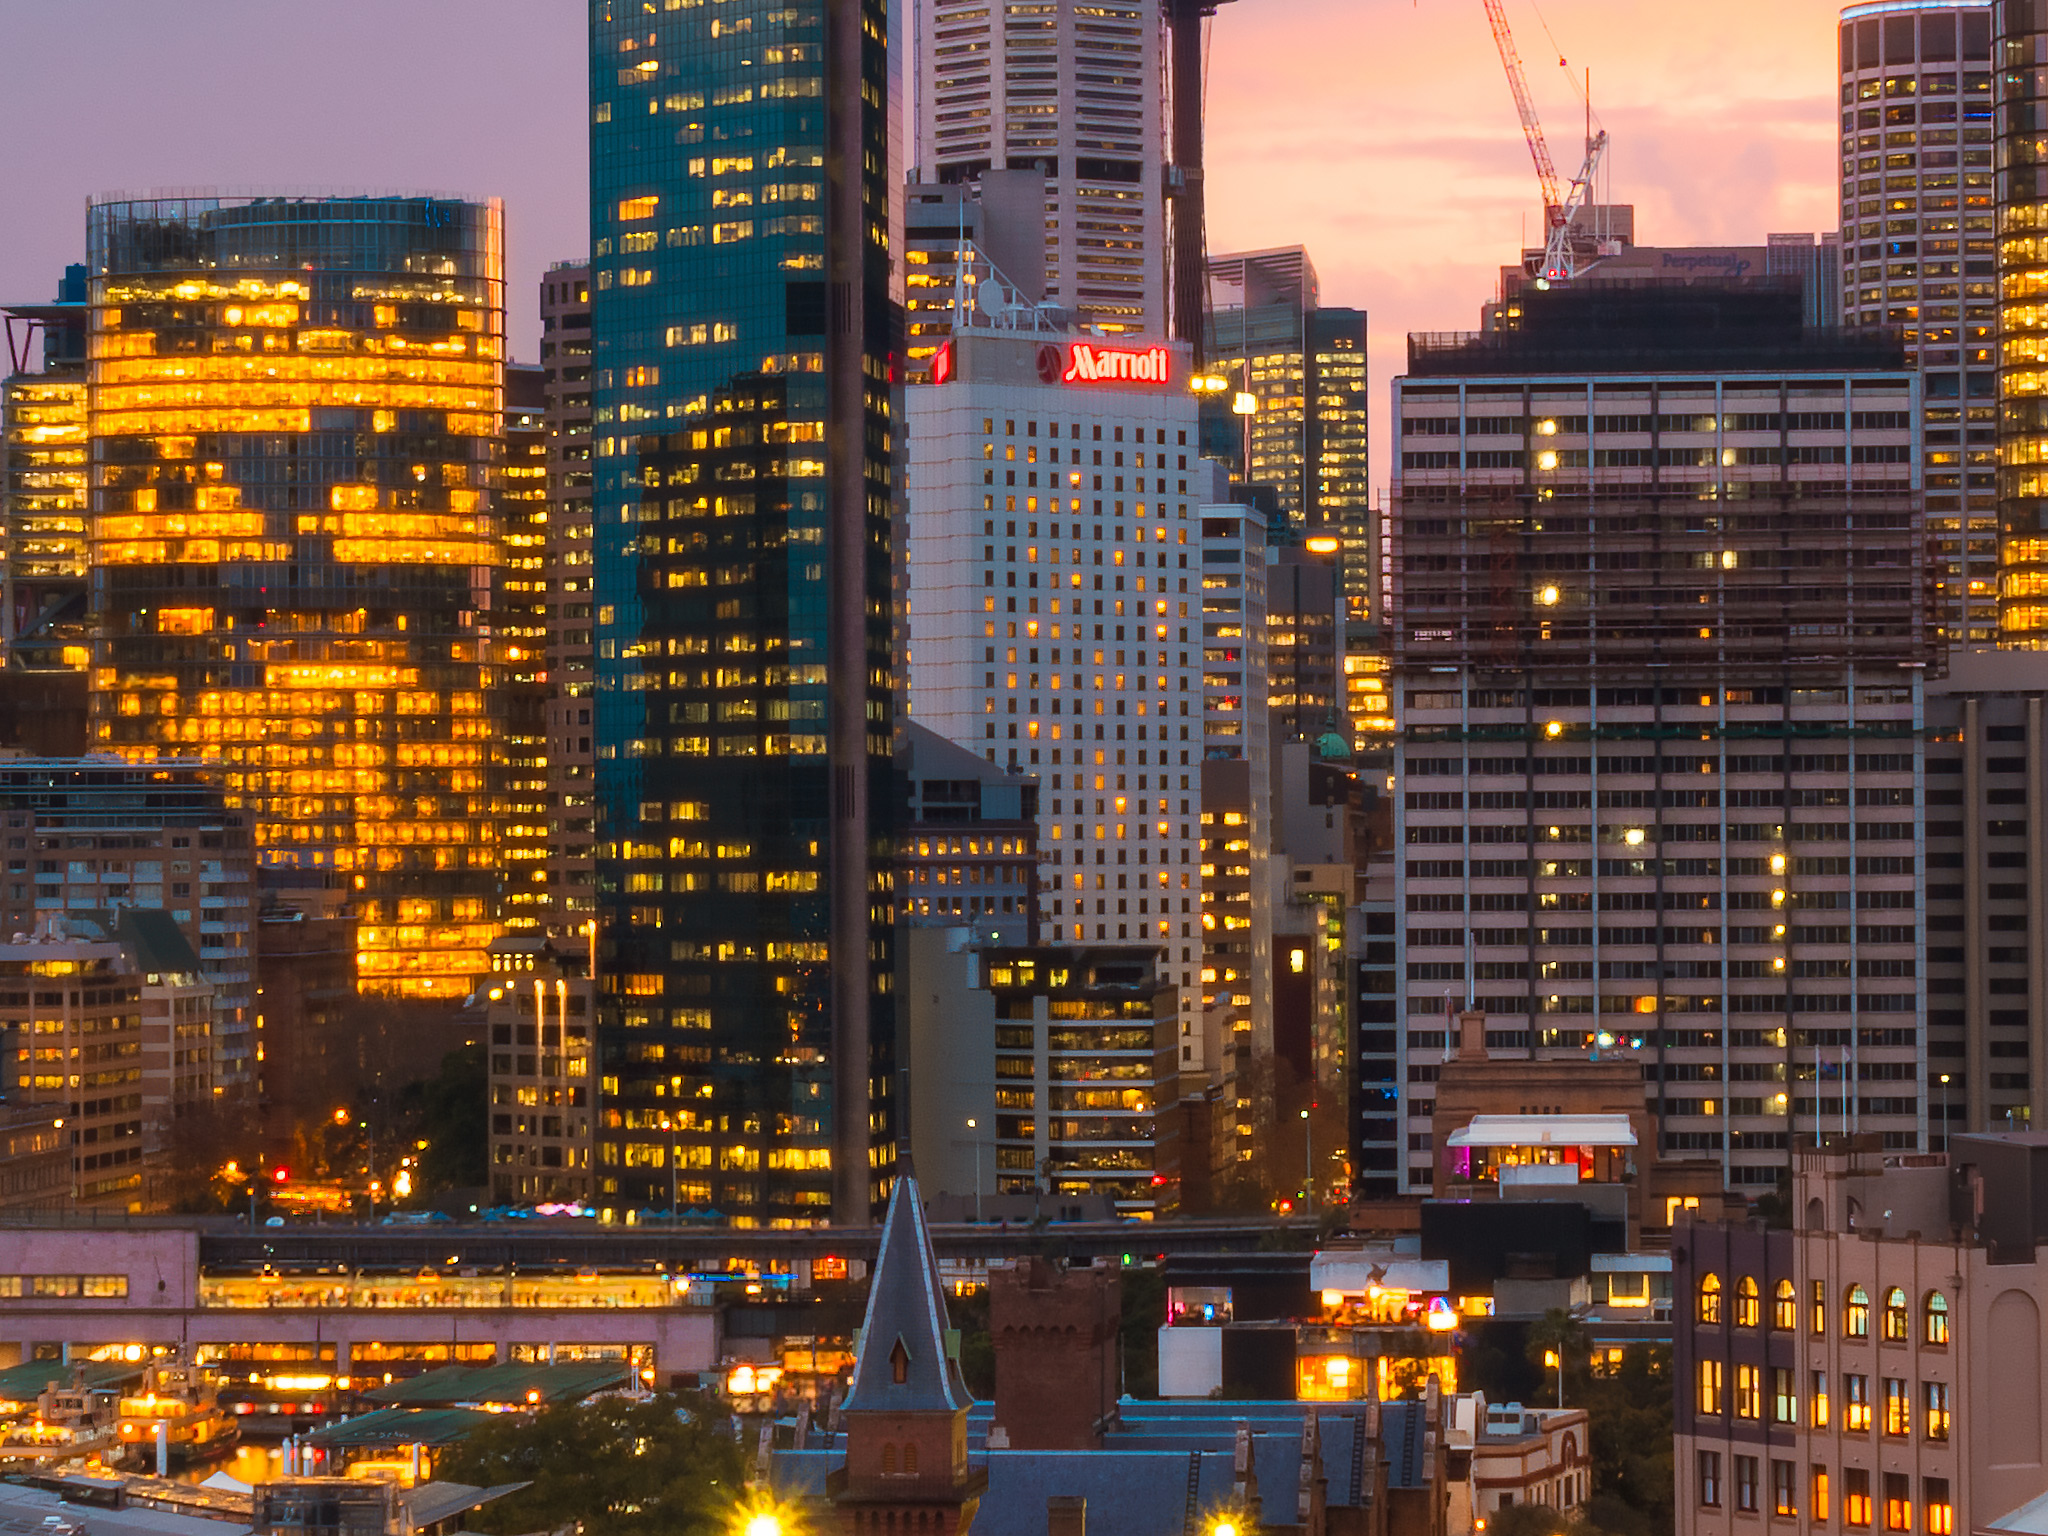
The image below was captured using High Res Shot. The first image shows the entire frame, and the second image shows a 100% crop taken from the centre of the first image. Pretty impressive for a 20mp micro four thirds sensor, huh?
Focus Stacking (and bracketing)
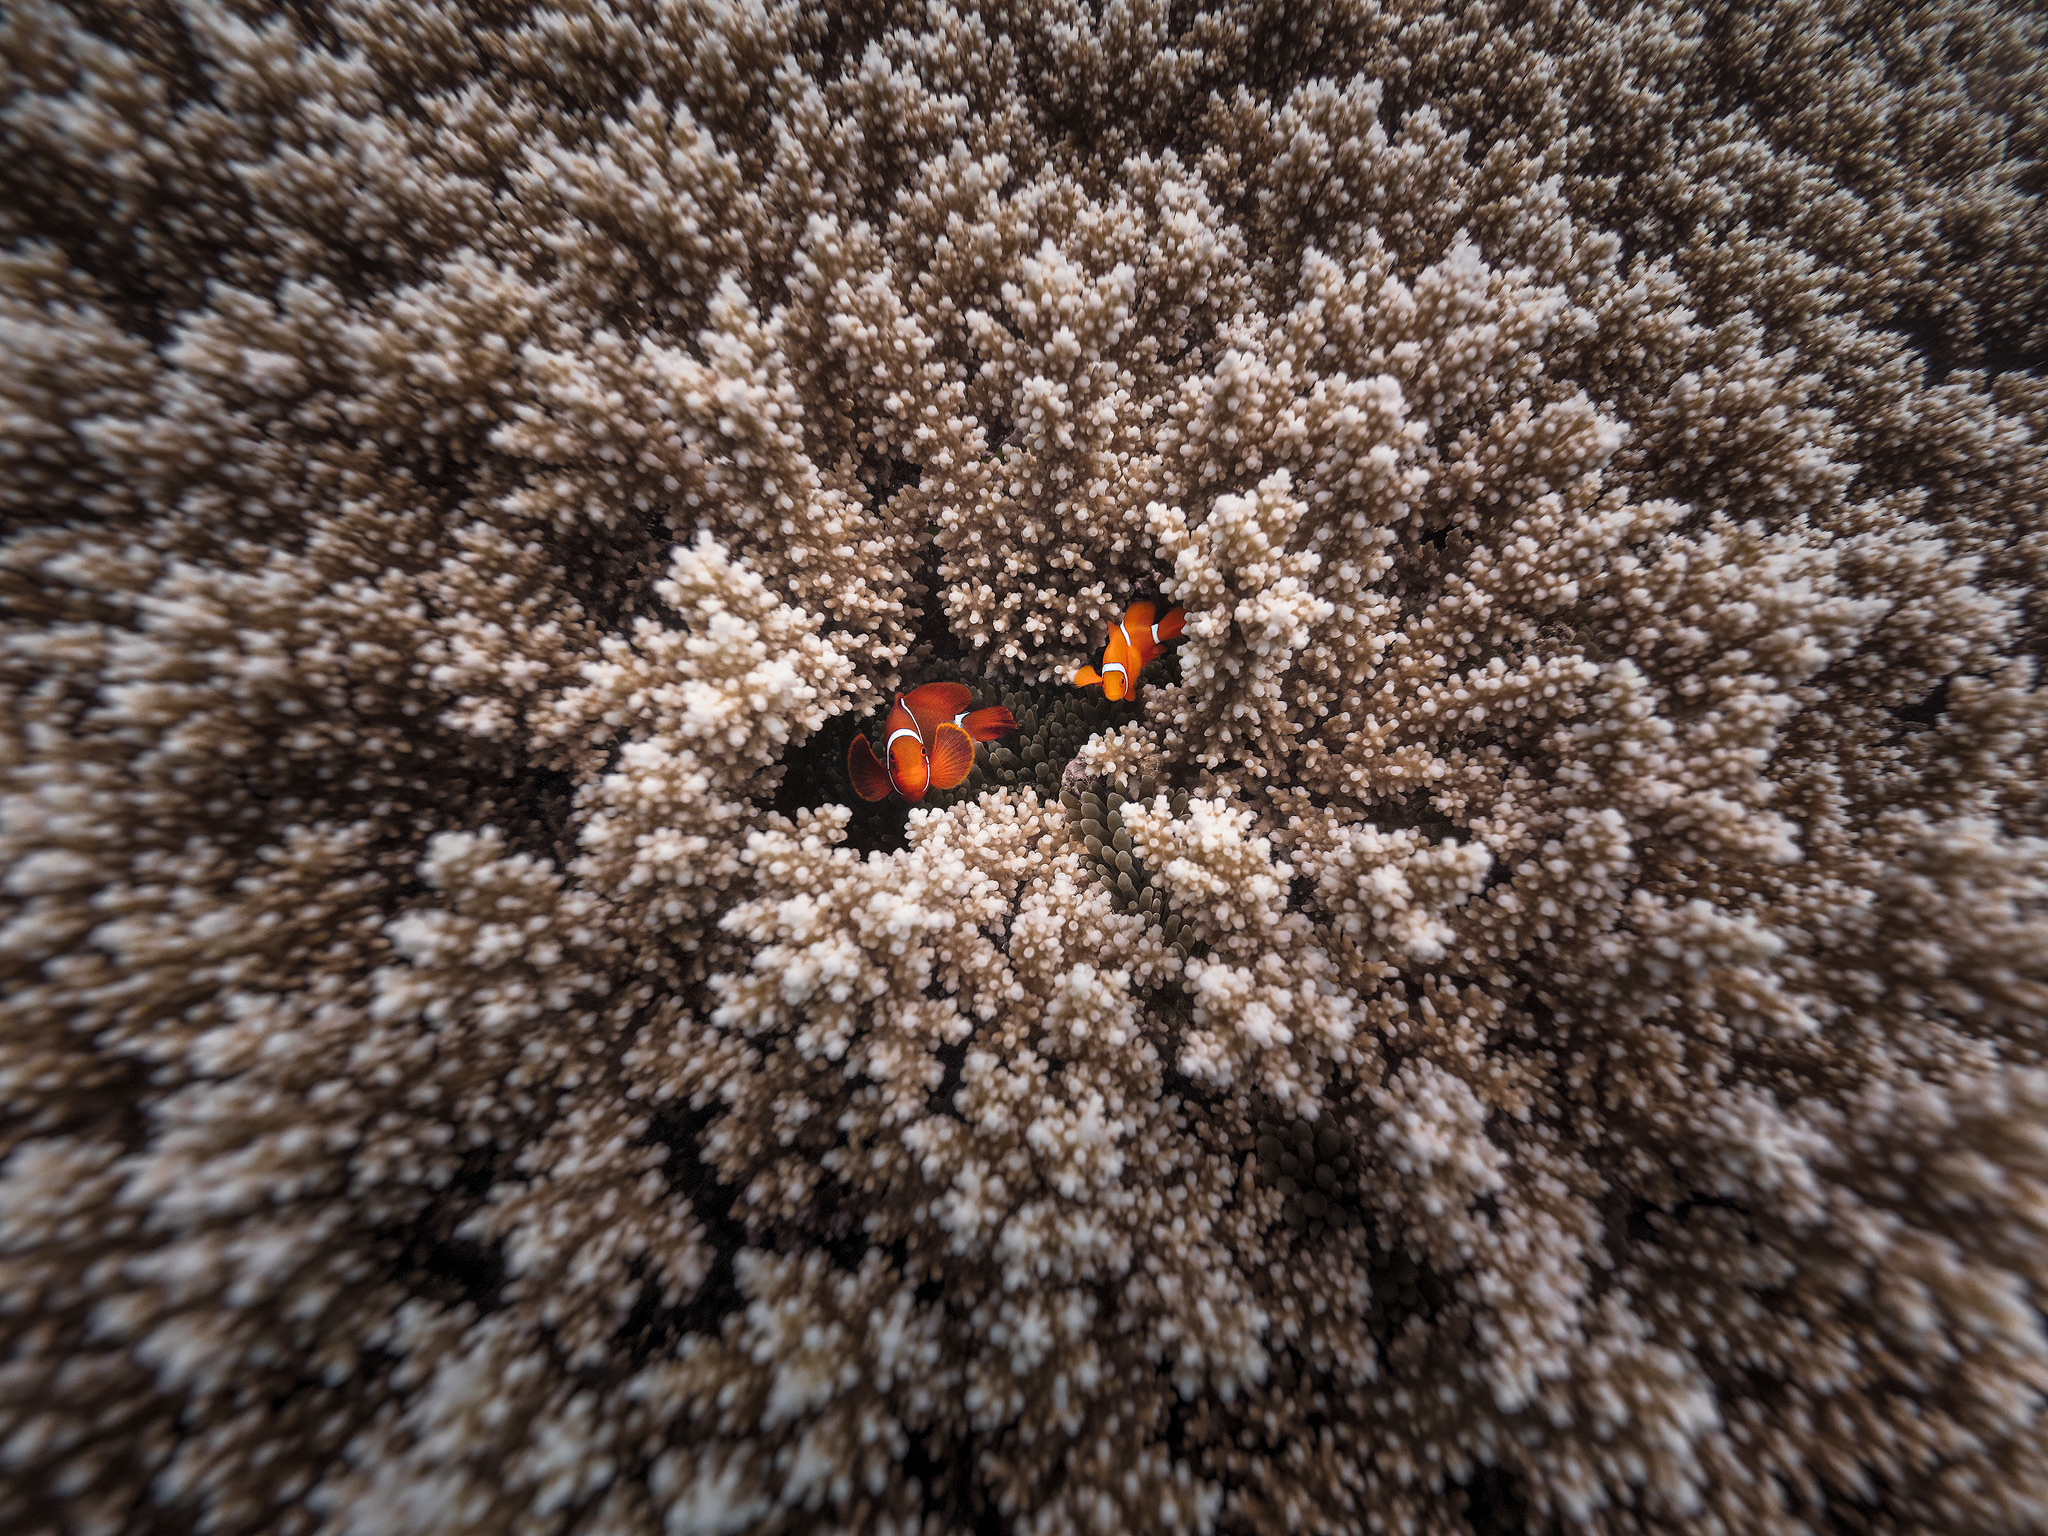
Focus stacking/bracketing is a technique I’ve become very familiar with over the years, both in landscape and product photography. However, it’s always been a manual and, for product shots, a fairly finicky process. Enter the E-M1 Mark II (and a few of Olympus’ other cameras) where this technique becomes automated. Focus bracketing on the E-M1 Mark II will result in a predetermined amount of raw files, at varying focus distances, that will later require the use of stacking software like Zerene Stacker, Helicon Focus or Photoshop (if you’re lucky). Whereas the Focus Stacking feature will output a final result in camera, though it’s only a jpeg.
This really is an awesome feature on the higher end Olympus cameras, especially automating the bracketing process (not so much the stacking), but it’s worth noting that it works best for macro/close-up shots i.e. product photography. Landscape photography on the other hand is still better left for manual focus bracketing as you only ever really need 2-3 shots that don’t require the precision of macro focus stacking/bracketing.

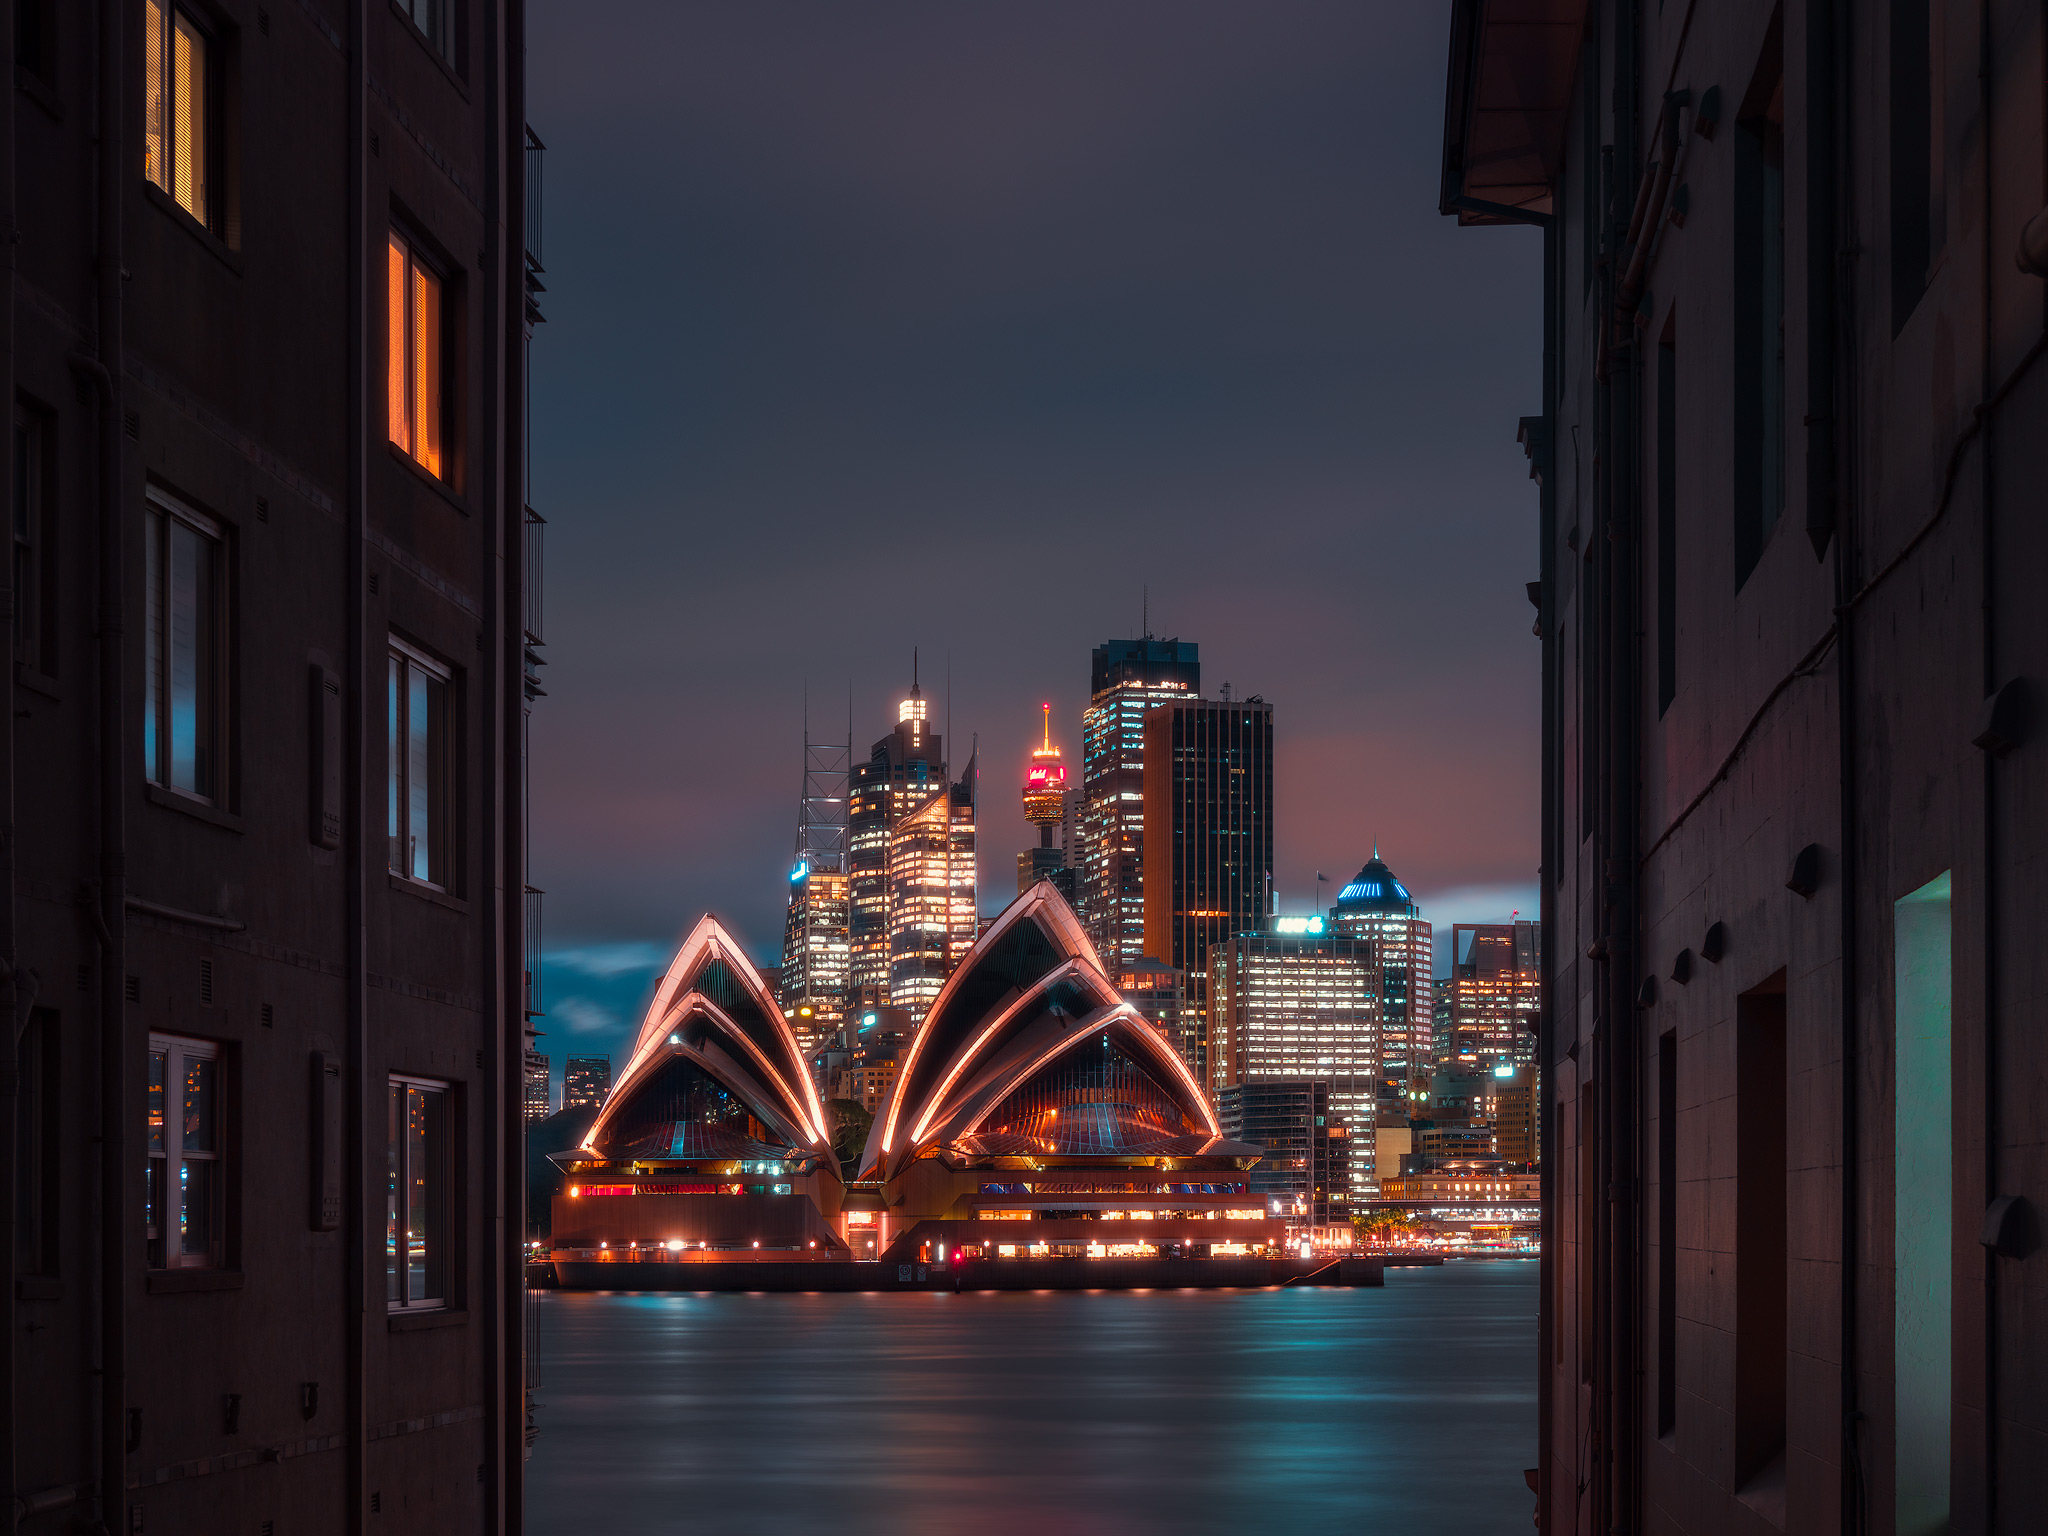
Live Composite
Live Composite is another one of those features that I’ve not seen implemented on other cameras, but for those photographers that are hesitant to delve into the world of Photoshop, this feature will help add a little more creativity to your night shots. In a nutshell, Live Composite works by first taking a base exposure, then continues to take additional exposures only introducing brighter lights that may enter the scene. This results in an image that may otherwise have only been achieved using bulb mode (less predictable) or Photoshop (time consuming and intimidating to some).
Whilst I generally prefer to do these kinds of stacks in Photoshop, to allow for slightly more control, this is actually an incredibly fun feature to have built into a camera. And if I’m ever on a project that requires a quick turnaround, then I think this will come in real handy! Not to mention, it can certainly save on storage as there is only one outputted file, as opposed to tens or even hundreds of frames.
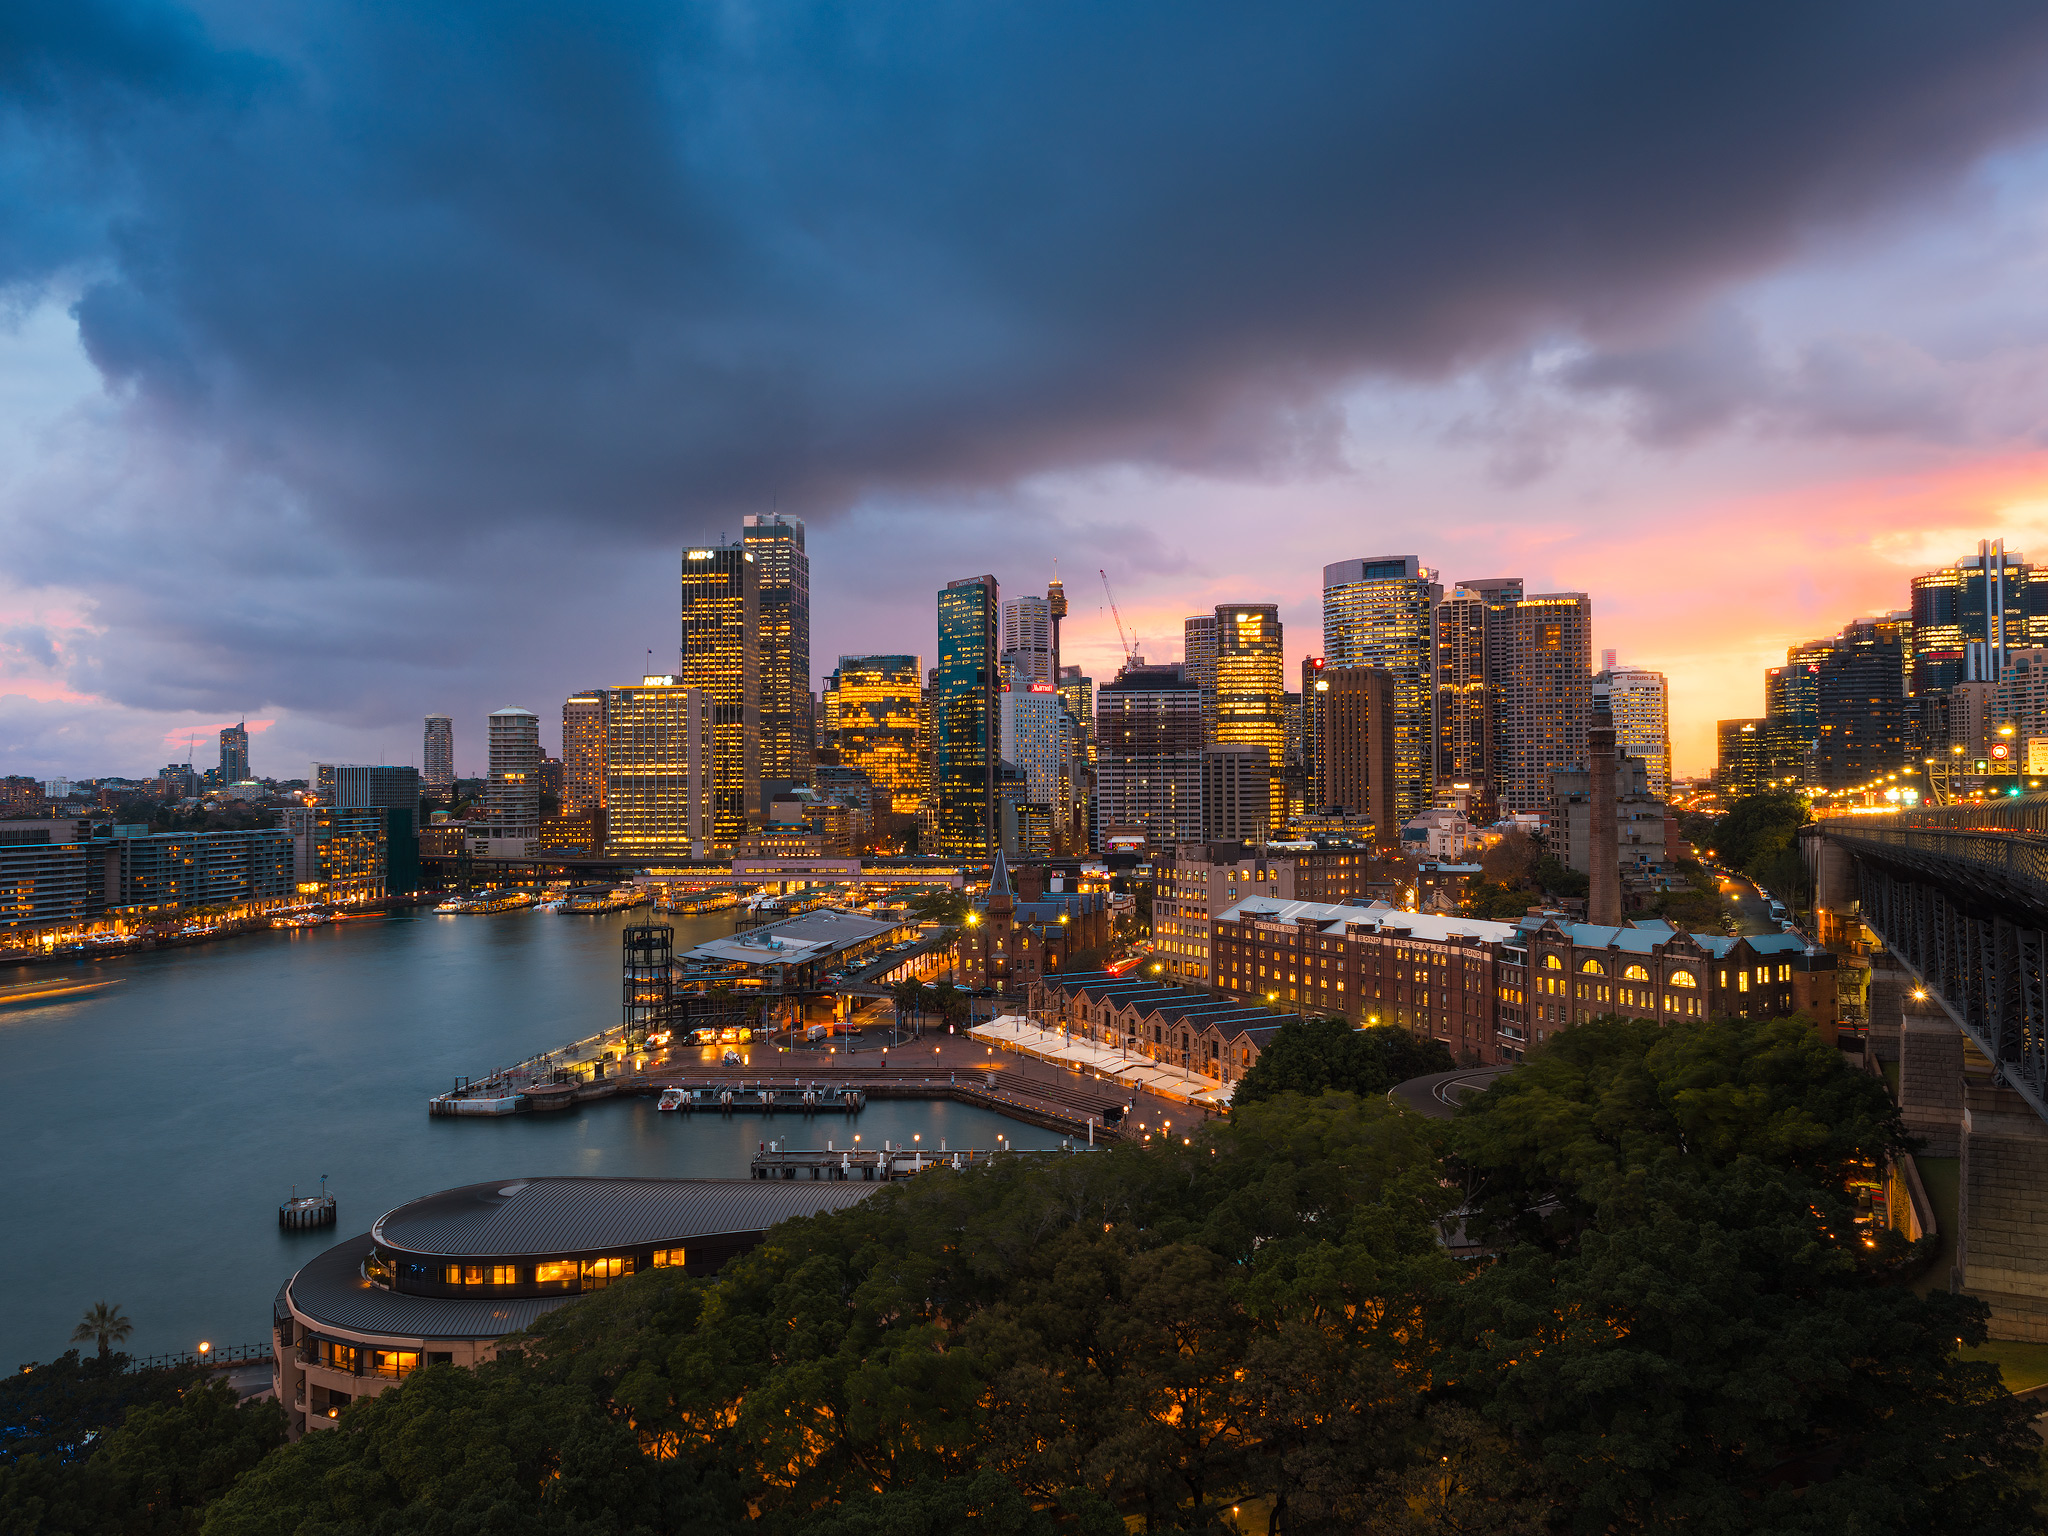
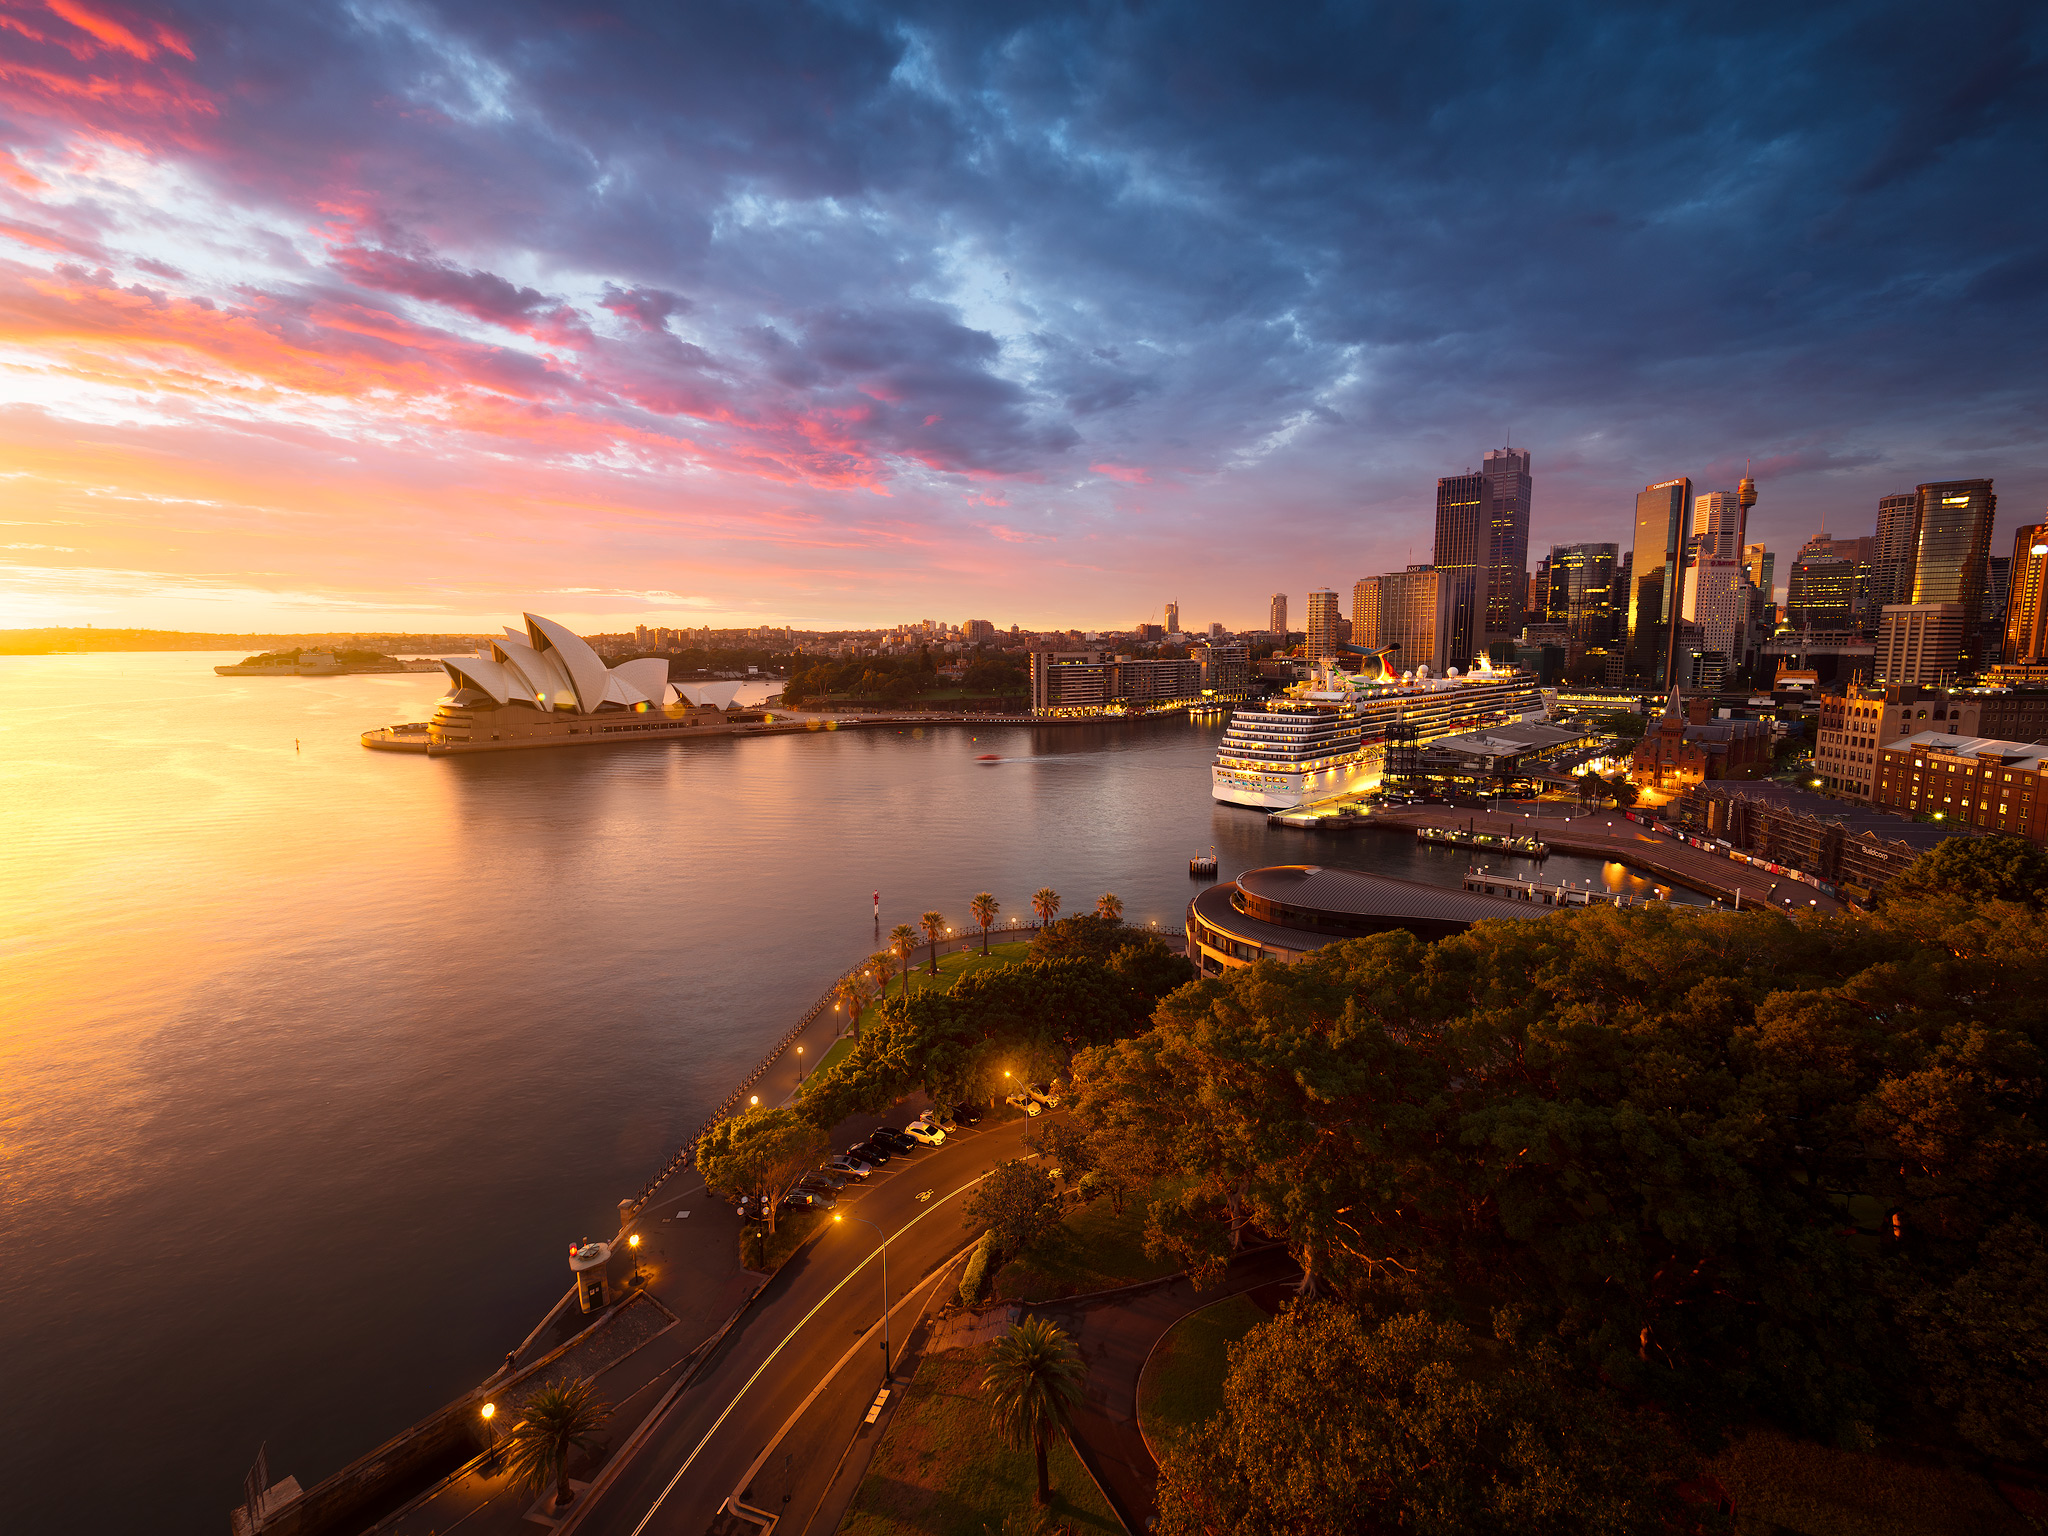
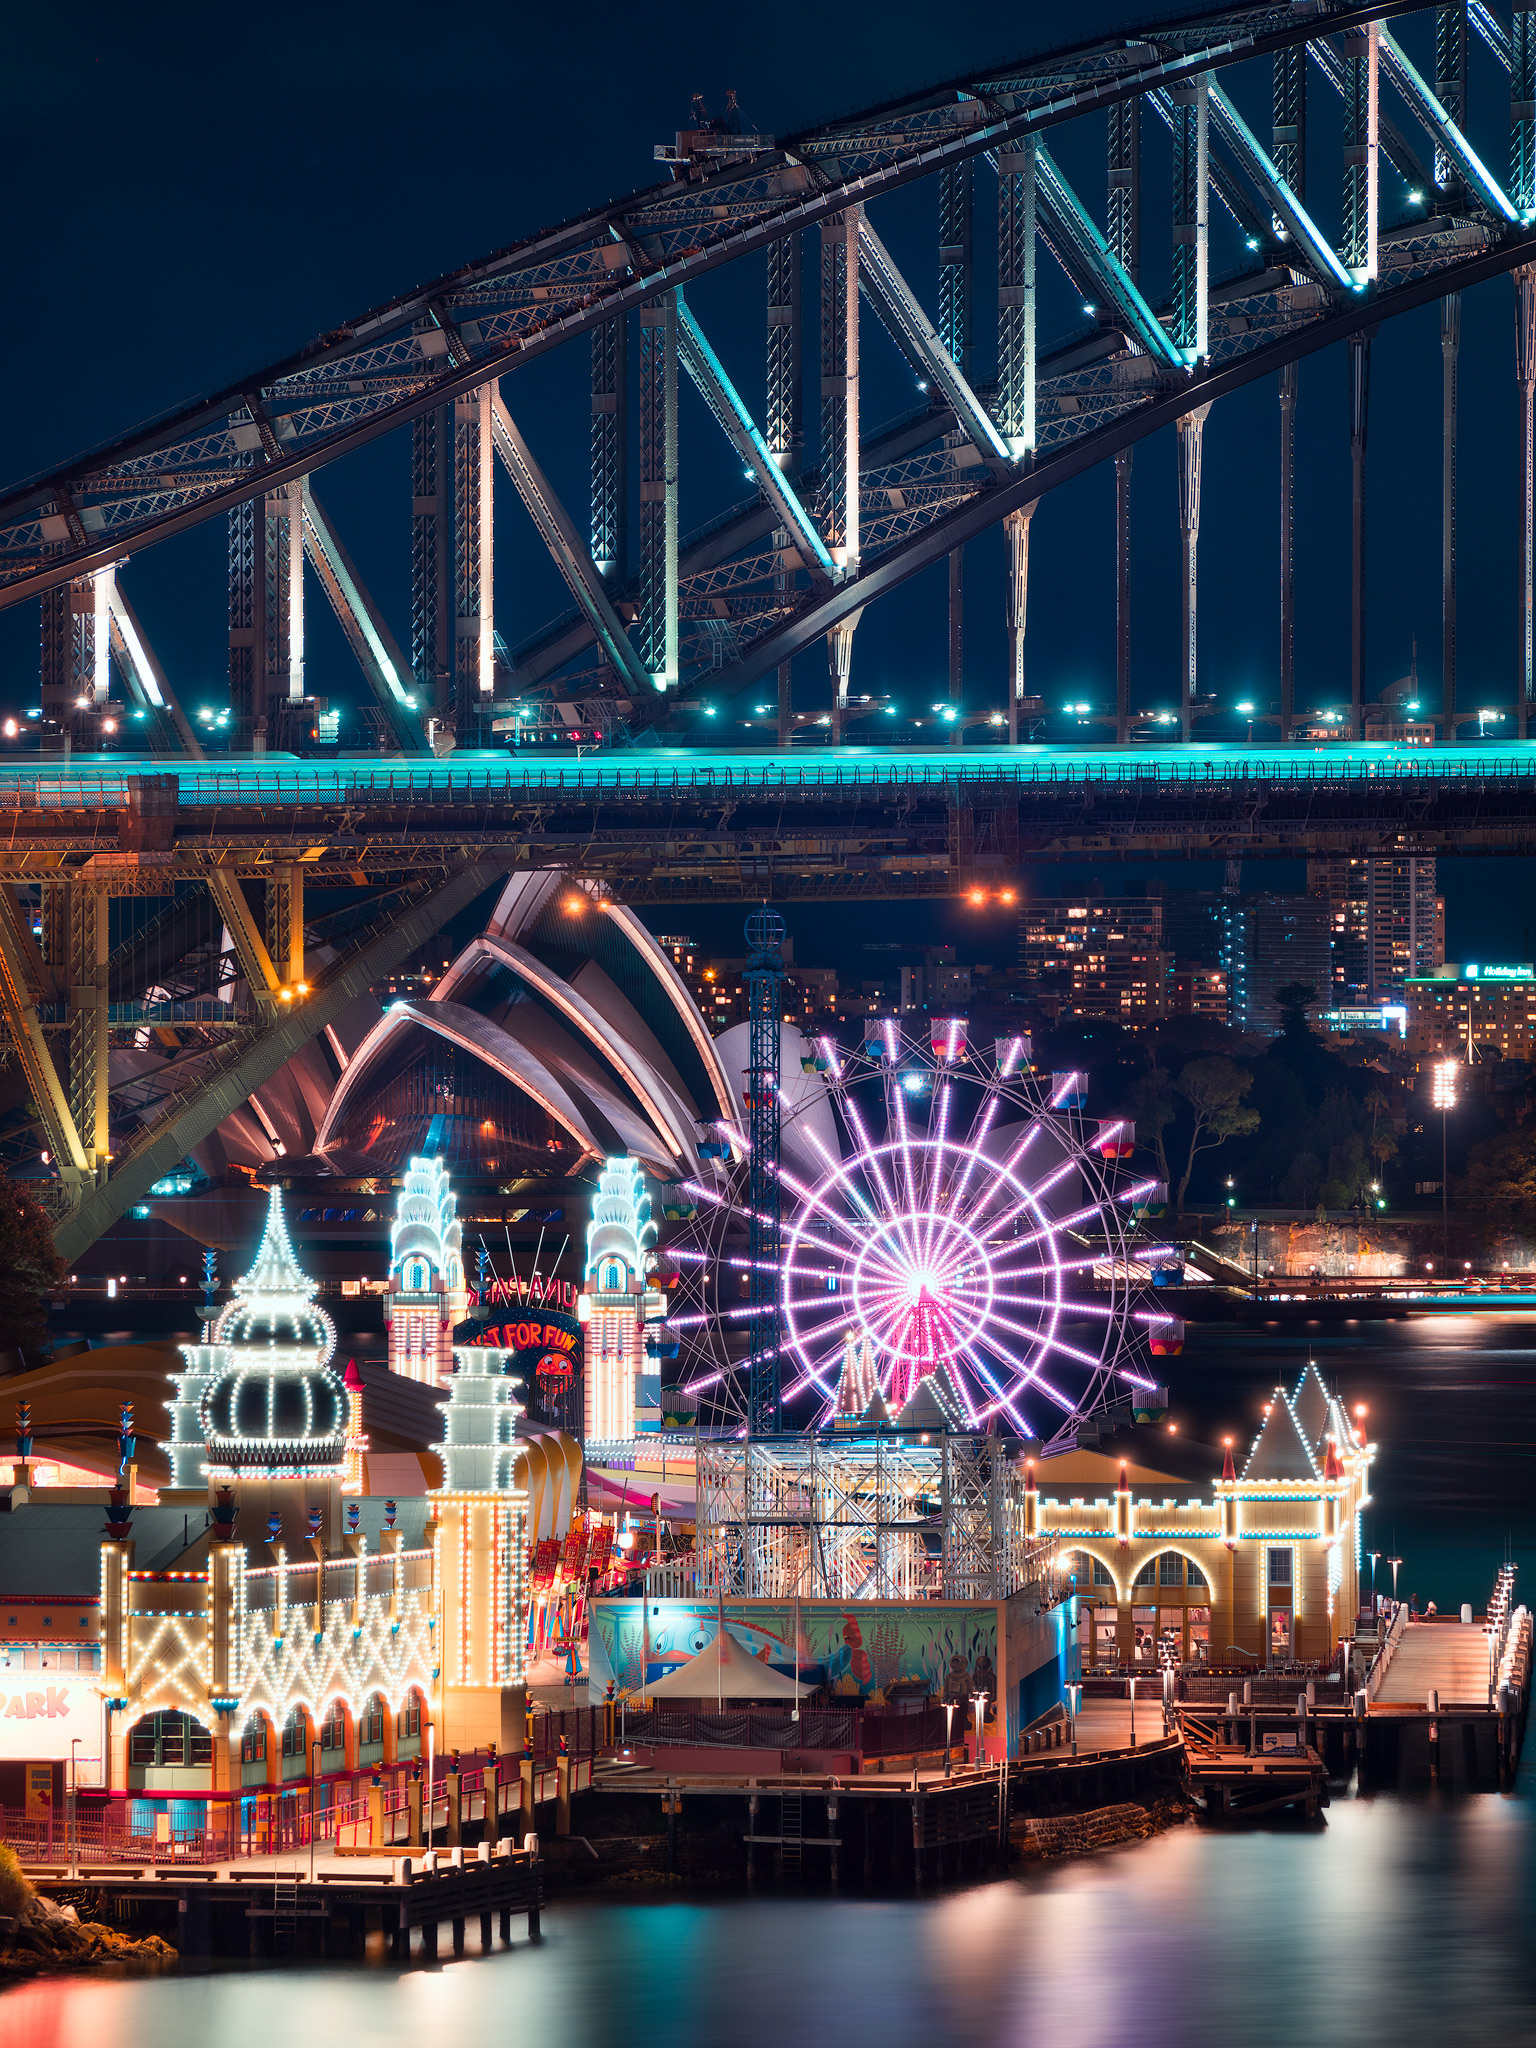
The image to the right is made up of approximately 3-5 minutes worth of 6 second exposures. Unfortunately, due to the nature of Live Composite, there’s no way of knowing (short of documenting during capture) what your total equivalent shutter speed is after the fact. I would love to see Olympus record this data in their raw files in a future firmware upgrade… unless there is already a way to view this information that I’m unaware of?
Also, it’s worth noting that the fireworks in this image were captured during a seperate exposure of the exact same scene. It was my first time using the feature and I wasn’t sure how well fireworks would translate in a Live Composite image. These fireworks lasted about 7 or 8 seconds and I wasn’t willing to risk missing them due to what would probably be user error. The light trails in the foreground however, were all captured in a single frame using Live Composite.
Images Captured with Olympus OM-D E-M1 Mark II
This is the part of the review where I let the images do the talking. No matter how good or bad a camera looks on paper, it means nothing if the resulting images don’t back that up. You could call this the “image quality” portion of the review, but intended for people like me who look at those science-ey graphs from DxOMark with nothing less than complete confusion…

Summary
Things I loved about the E-M1 Mark II:
- The ruggedness and weather resistance.
- Battery life and charging speeds are exceptional.
- Feature rich (High Res Shot is a standout for me).
- Fully articulating LCD display.
- Ridiculously customisable.
- Dual SD card slots.
Things I didn’t love about the E-M1 Mark II:
- High ISO noise (low light) performance is pretty average, at least coming from a full frame sensor. For the E-M1 Mark II’s sensor size, I’m sure it holds up well against other M43 sensors.
Final Thoughts
Coming from a full-frame high resolution camera like the Sony A7R, I was honestly expecting to be disappointed with a 20mp micro four thirds camera, but that truely isn’t the case. Apart from maybe a boost in low light performance (image stabilisation aside), there really is nothing else left to be desired from the E-M1 Mark II. It’s solid as a rock, shoots like a beast and is more fun to shoot with than any other professional level camera I’ve used to date.
Since first playing with this camera around 8 months ago, to now owning it myself I have come to the decision that this will now be my primary camera, and I’d say I’ll be using it for around 80-90% of my photography projects, both personal and professional.
If you made it this far through the review, I’m impressed! As usual, if you have any questions about the E-M1 Mark II or my experience using the camera, please leave them in the comments below and I’ll be sure to get back to them ?