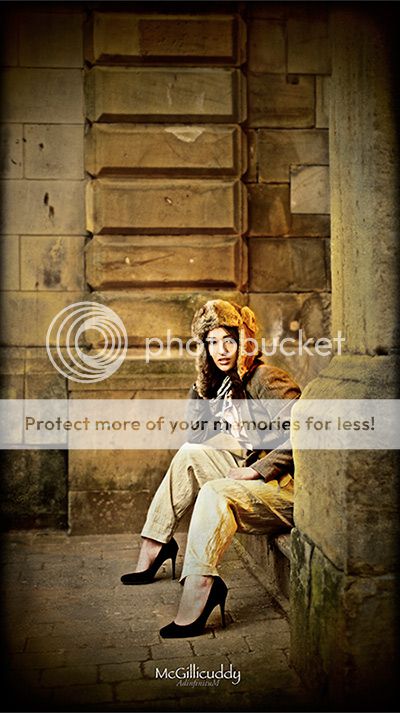
copyright of Andre Arthur.
……..
This is a guest post from Andre Arthur. If you want to write an article for 43rumors just contact me (Ale) at 43rumors@gmail.com. Thanks!
All images on this post are under copyright of Andre Arthur. Credits:
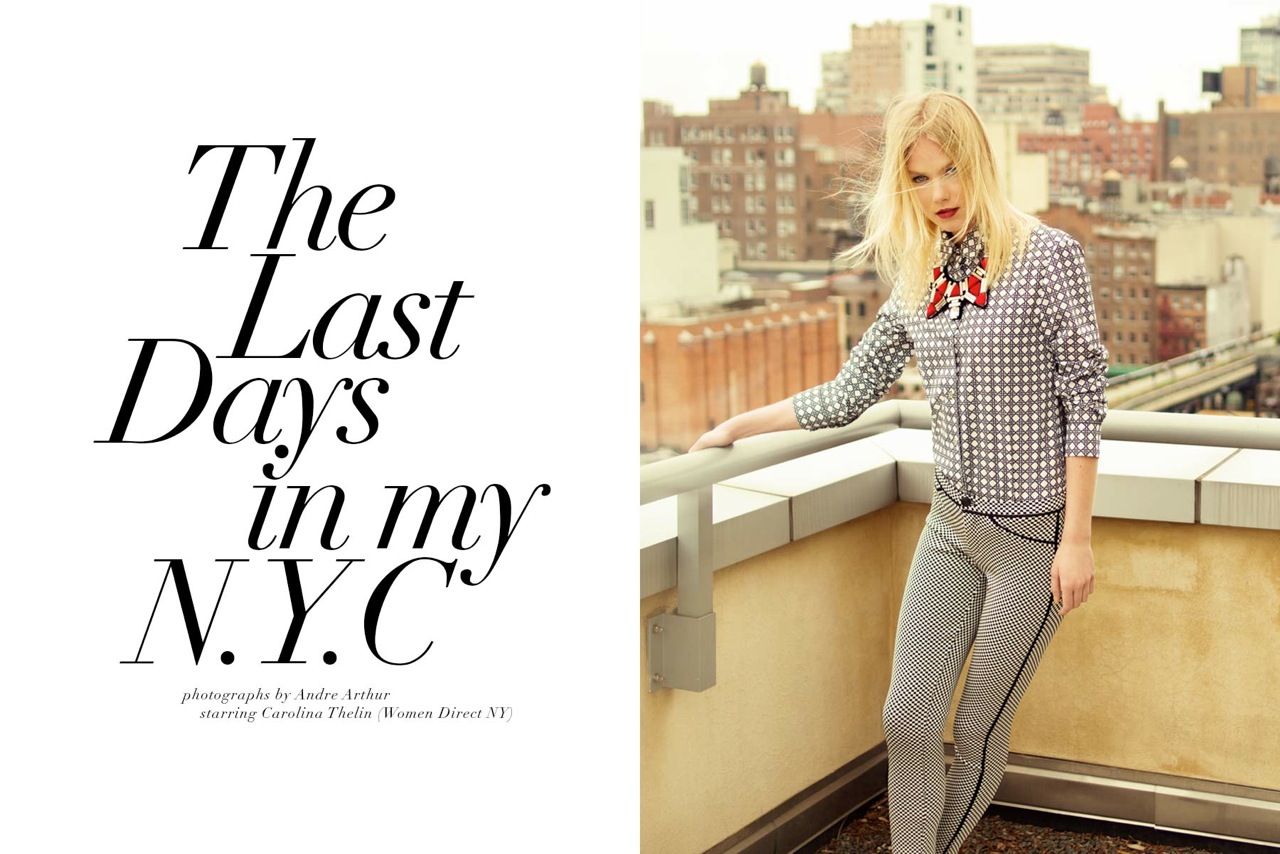
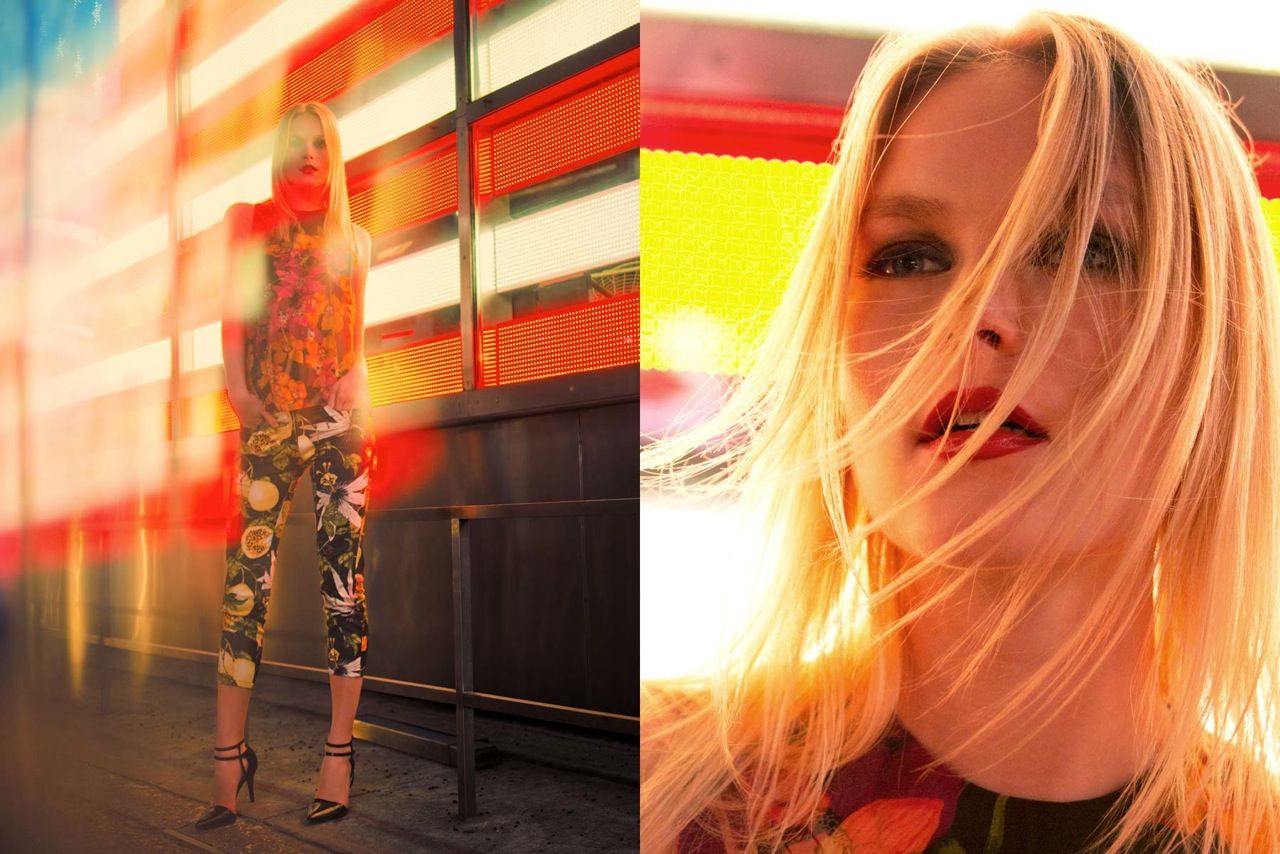
Fashion Editorial for The Gallerist / http://www.gallerist.com.br
Photography: Andre Arthur / http://andre-arthur.com
Model: Carolina Thelin / Women Management NYC
Styling: Mari Cassou
Hair & Make Up: Emma Jean
——
Hi! Here`s my story shooting with the OM-D.
My name`s Andre Arthur and I`m a brazilian fashion photographer. My main gear is a Canon 5D Mark III with a 24-70 II and a 70-200 II. But I always loved the M 4/3 system. My first camera of this system was a Panasonic GF1, with a 20mm and a 14-45. That was something that I used most for casting and location scout, but never for something really big.
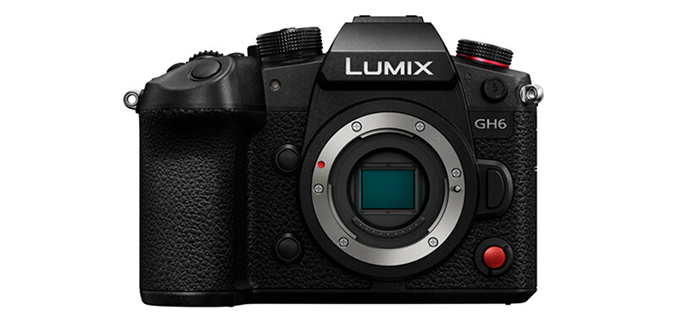
When I went to NYC last year, I`ve changed my M43 gear for an [shoplink 29074]Olympus OM-D[/shoplink], with a [shoplink 23110]25 PannyLeica[/shoplink] and a [shoplink 34914]17 Oly[/shoplink] and [shoplink 23577]45 Oly[/shoplink].
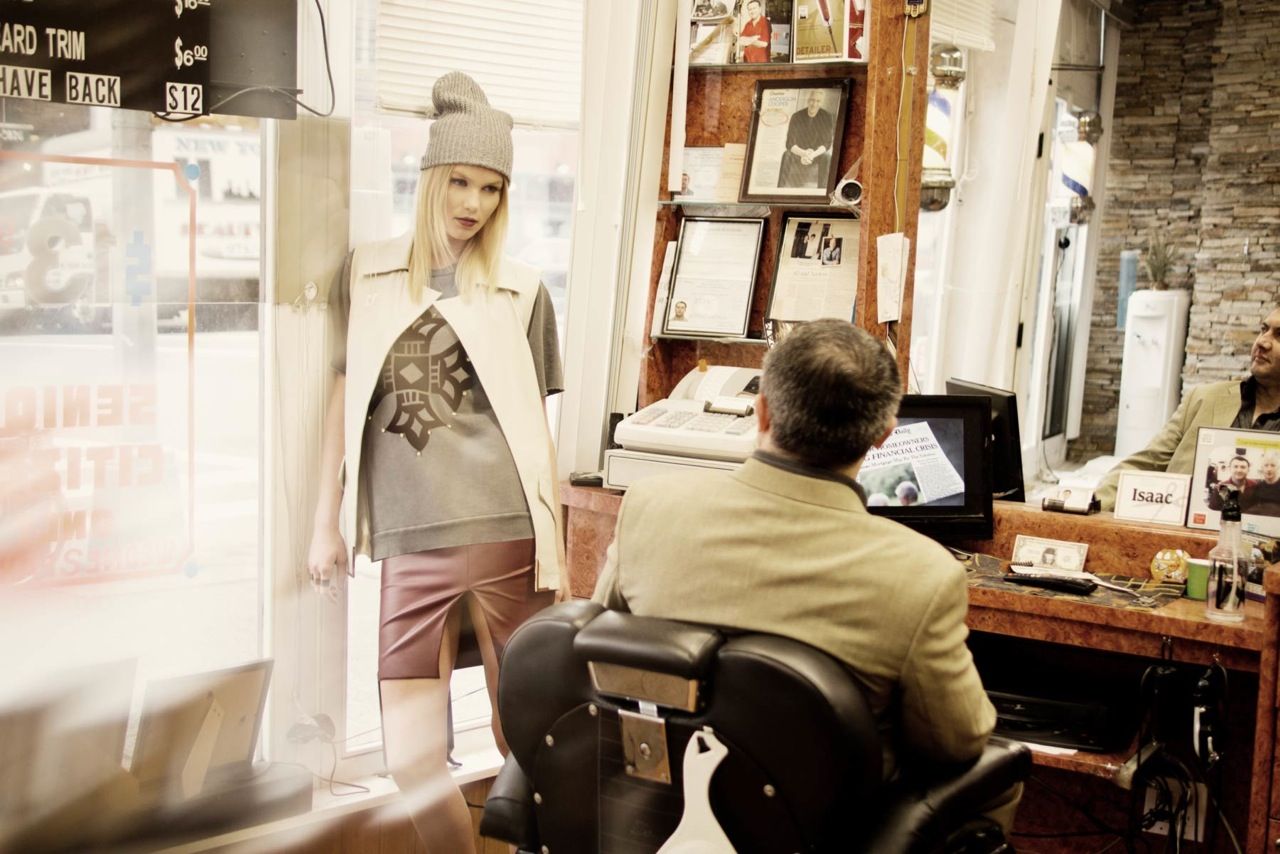
On the beginning of this year, on April, I went back to NYC to shoot a fashion editorial. Well, I had no photo assistant and I must shoot a lot of looks. So I decided not to take my Canon gear, but the Olympus one. That was when I realised how powerful is that big little camera.
FIRST OF ALL, IT`S FAST.
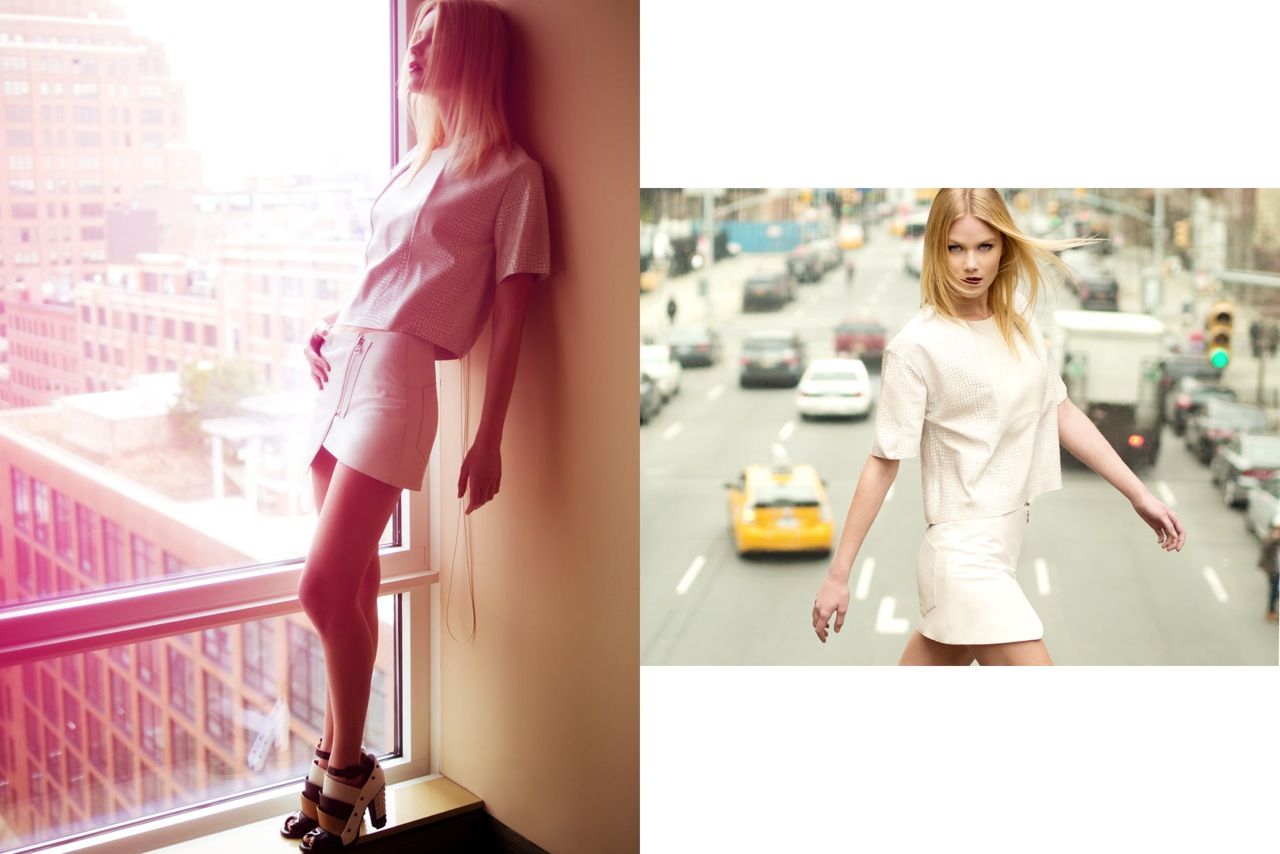
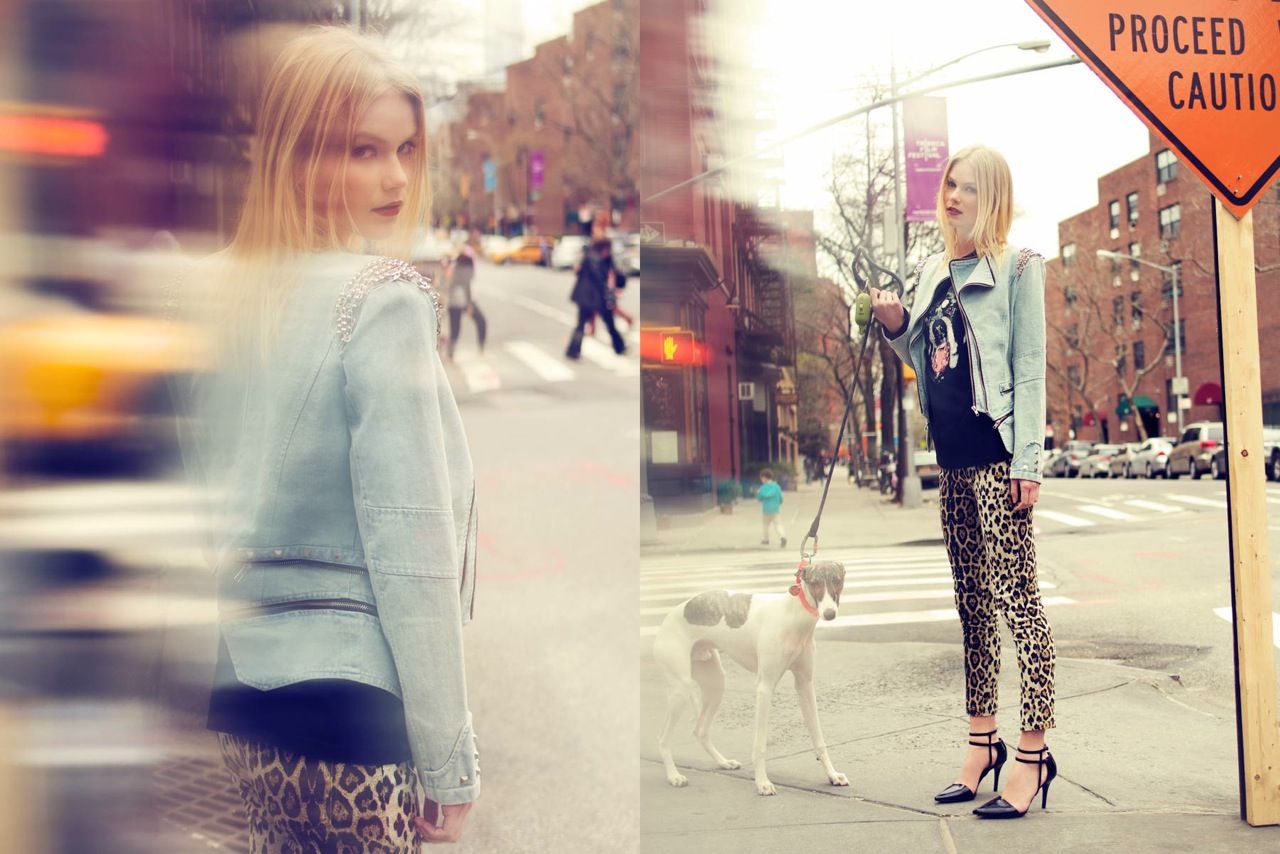
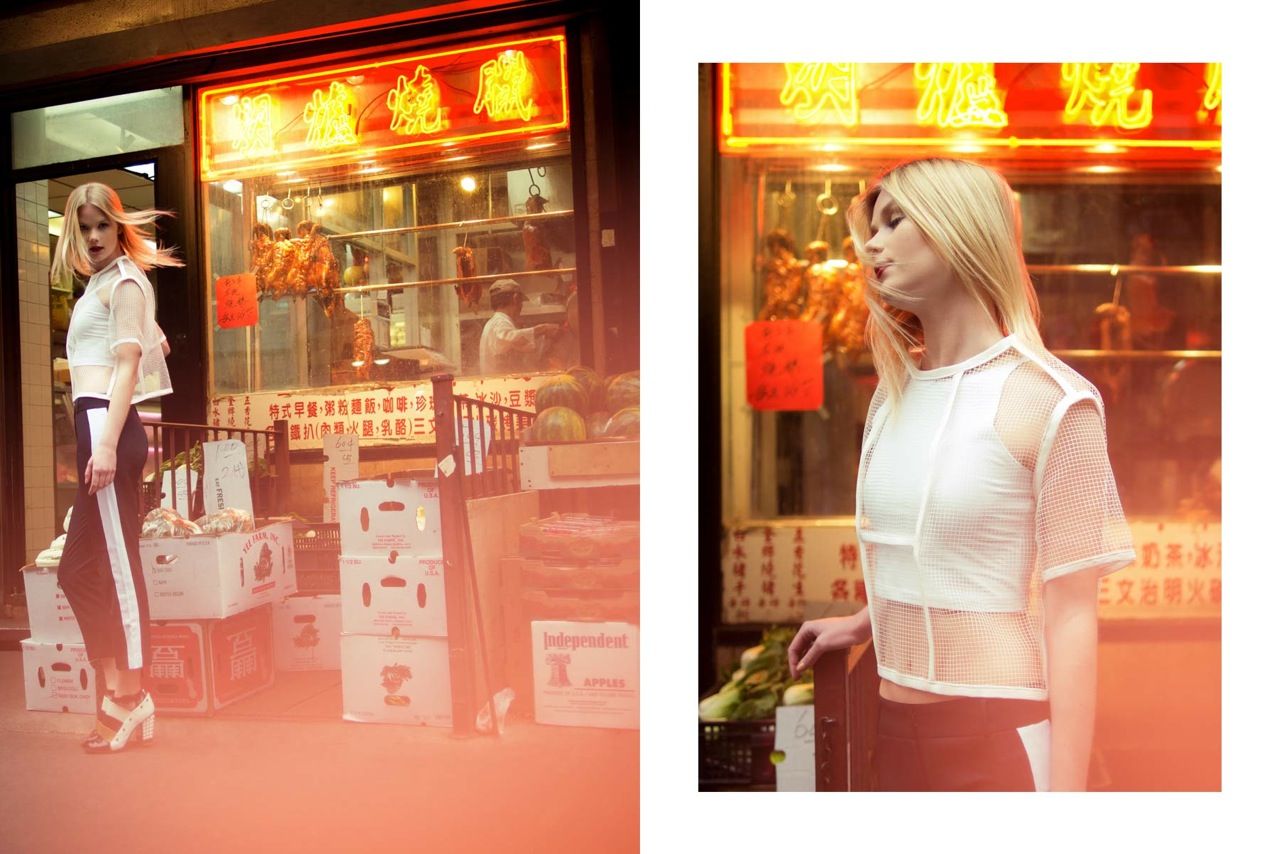
I used to shoot a lot of continuous shots, with the girl walking and crossing the streets. That was amazing how fast and accurate the OM-D could be.
IT`S NOT HEAVY, SO YOU DON`T GET TIRED
As I wasn`t with a photo assistant, I had to carry my laptop and all my Olympus gear. So I bought an ONA Bag called The Bovery at B&H. It`s a messenger bag, with a shoulder strap, that`s light and divided inside. Using that bag, I could change lenses and carry batteries and memory cards without the help of a photo assistant. My laptop was inside a backpack.
FOCUS
Even using the widest apertures, focus was accurate. I could completely trust on my camera and worry with the composition and not with the focus.
Gallerist A/W 13 from Andre Arthur on Vimeo.
VIDEO
While I was shooting, I made a fashion film. So I was using a small Manfrotto Shoulder to shoot this movie clips. That was amazing and video quality really surprised me.

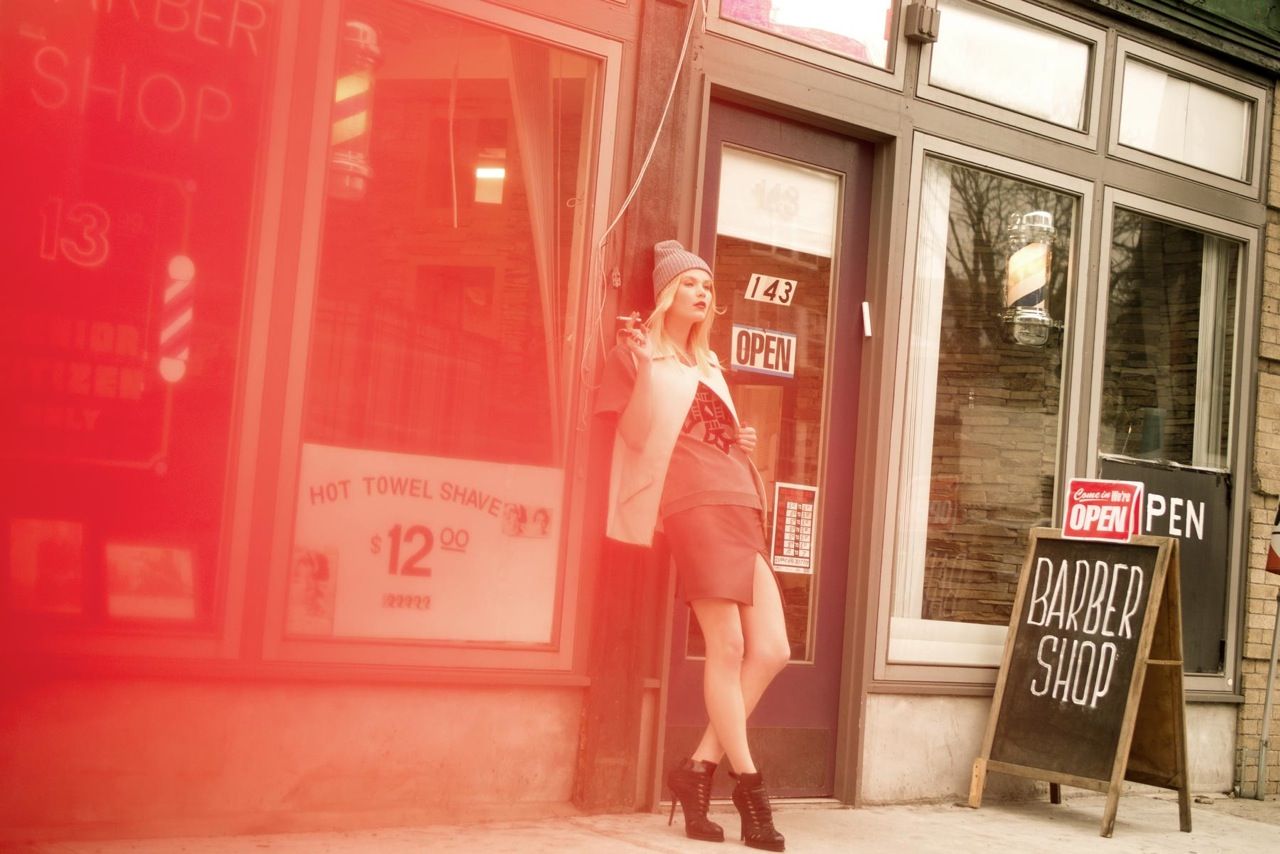
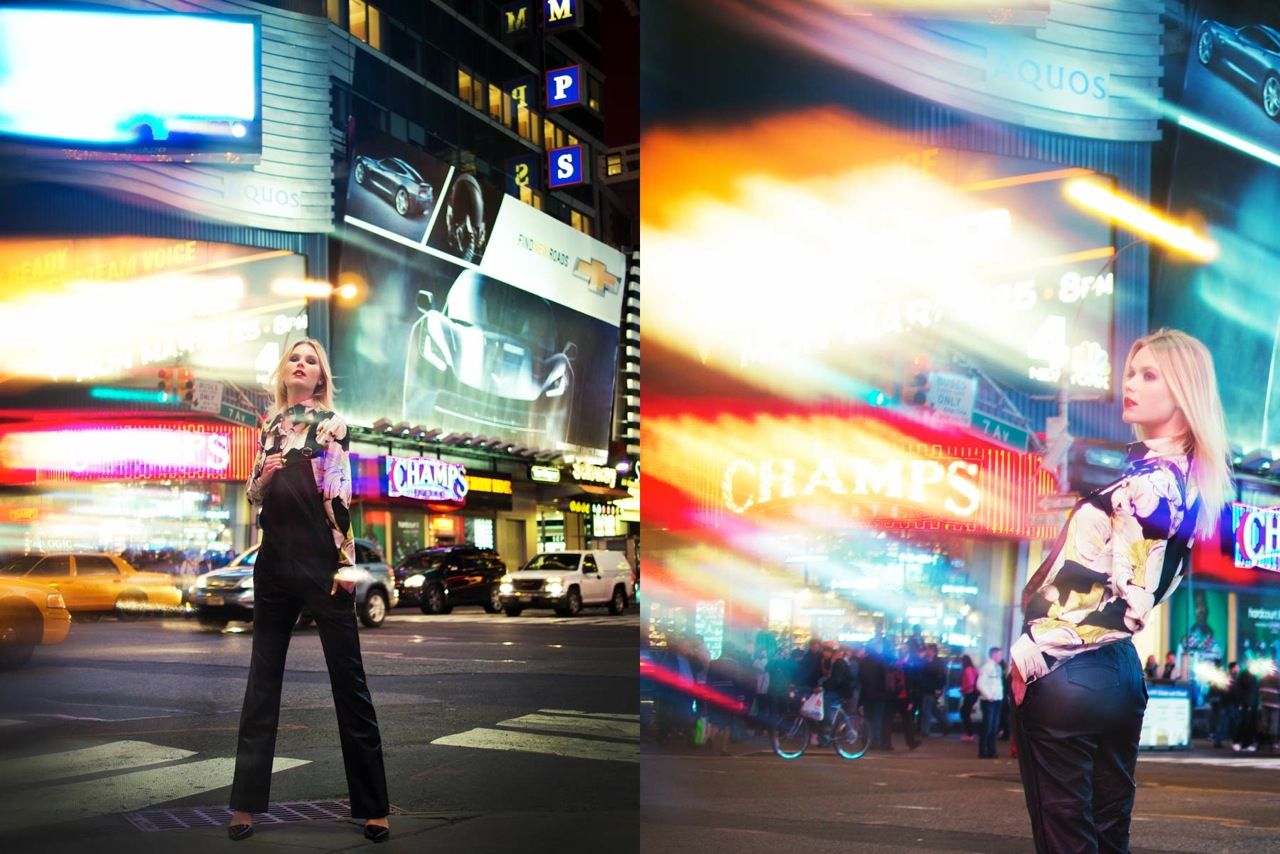
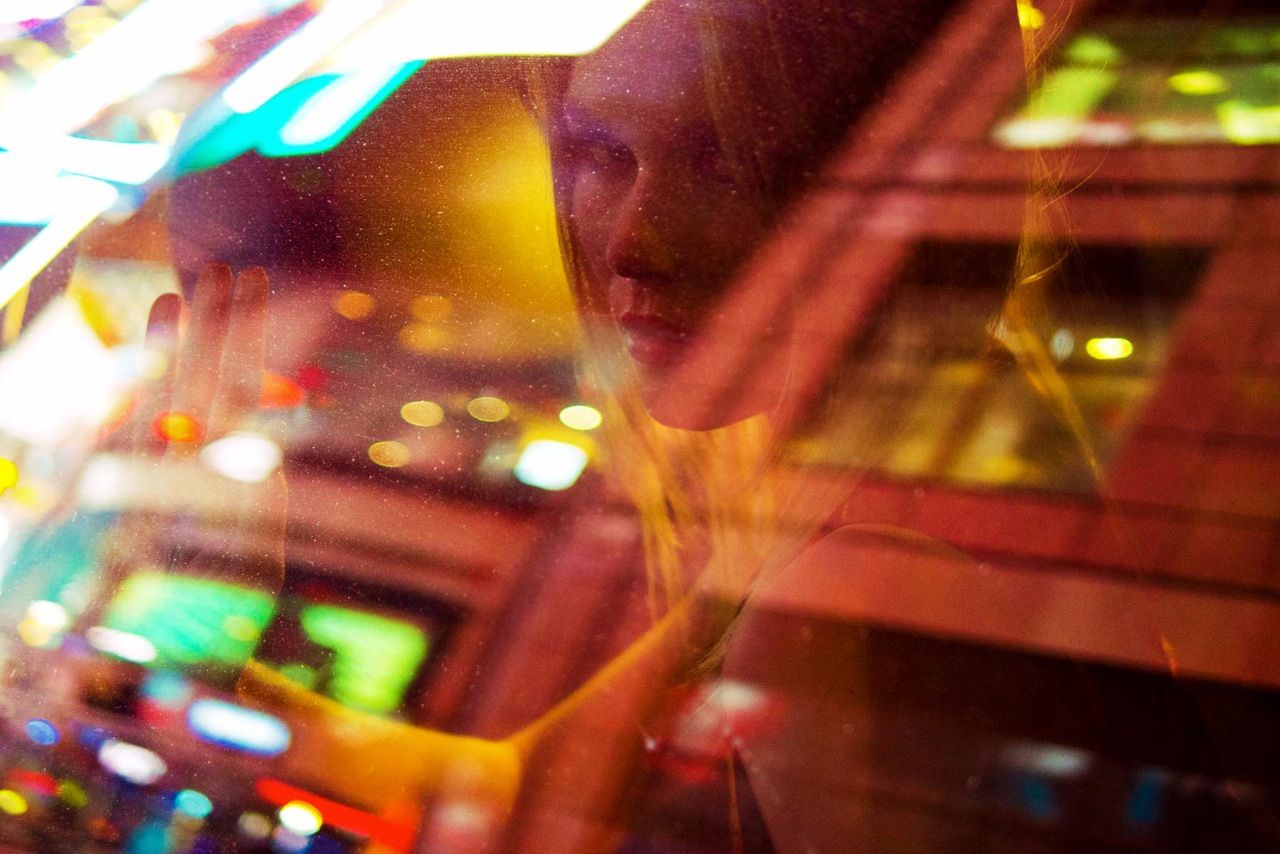
LOW LIGHT PERFORMANCE AND HIGH ISO
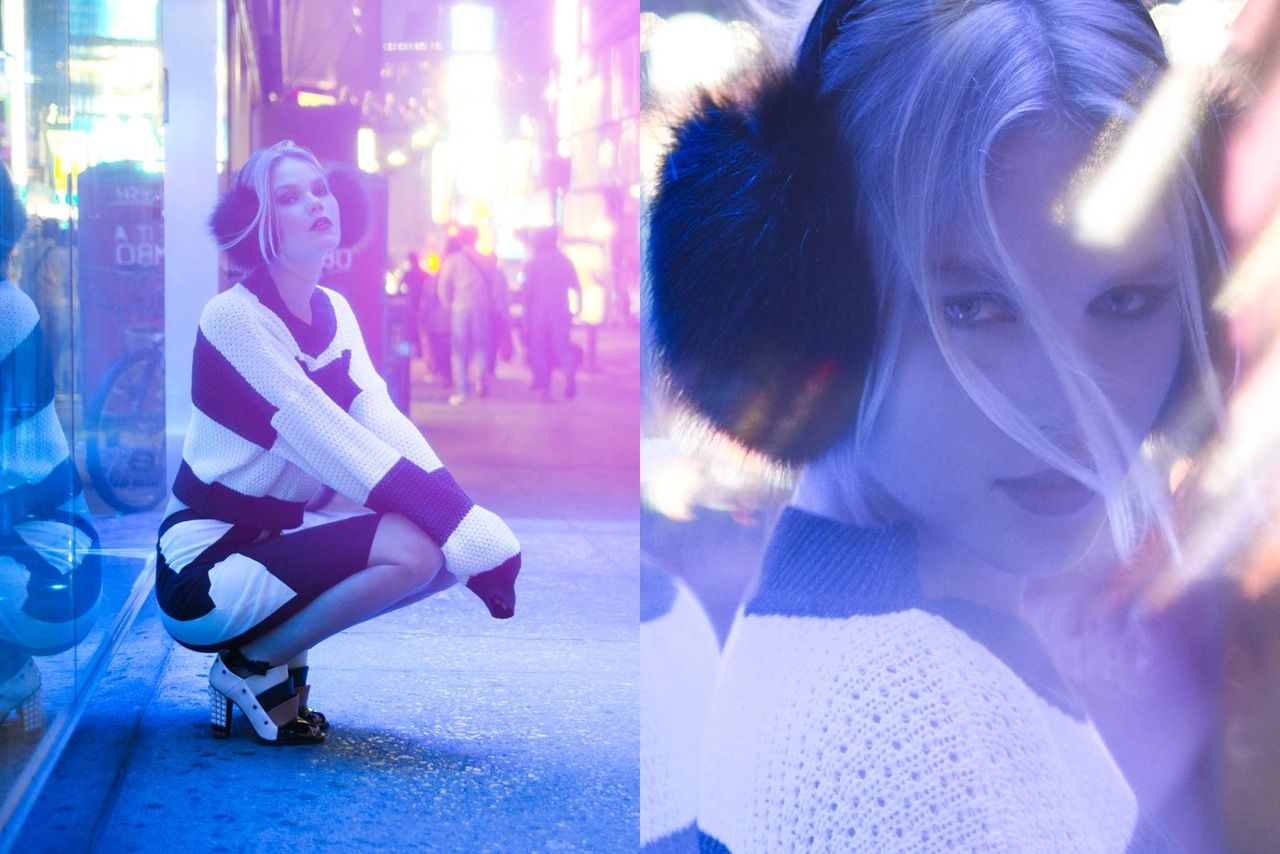
For this editorial, I shot a LOT of night shots. I was really afraid of how the focus would be. Well…again, highly accurate. ISO is amazing until 800. 1600 is extremely usable. As I was using a lot of prime lenses, I didn`t have to shoot with ISO higher than 800.
LENSES
One of the great reasons to buy a OM-D are the lenses. I really don`t like the zoom. But the primes are a joy to use. Light, clear, beautiful. I even think that images created by those lenses are better than the prime lenses from Canon.
APPEARANCE AND LAYOUT
Well…that`s something important for me. I bought the silver OM-D, because I really wanted it to not look like a professional camera, but a vintage one. That`s better for me, because I shot a lot of street photograph. People who look at my camera, just don`t realize that I`m doing something really important. And that`s great, because I can take photos anywhere. Police, robbers and civilians just don`t give a damn for you, when you`ve got an OM-D in hands.
About the buttons layout, I`ve got big hands. Sometimes my fingers pushed the wrong button, but that`s something I can live with. And I really think the next OM-D will have a better layout. I really think it can get a bit little bigger. I don`t want to buy a Battery Grip.
BATTERIES
I have two batteries. One is not enough for an all-day shooting. The perfect environment is to have three of them. But two can get you there.
COMPARING WITH THE FUJI X-PRO 1
I used a X-Pro 1 for a moment. For me, it`s a slow camera with a weird appearance. It`s lighter than it should be, looks like a plastic camera. Image is great, but it`s not a pleasure to shoot with. M 4/3 lenses are way better.
WHAT I DO EXPECT FOR THE NEW OM-D
– A slightly bigger camera
– 20+ megapixels
– Better buttons layout
– Better viewfinder (like the EV-4)
CONCLUSION
Me and the client just loved the result. I could worry only about the photography itself. With the 5D Mark III, I don`t think I could do this job without at least one photo assistant. And even if I had one, I probably would not be able to explore nice angles all the time. And the most important, I wouldn`t be able to shoot the video.
Andre Arthur Photography & Fashion Films
+ 55 11 983 514 000
Sao Paulo, Brazil
http://andre-arthur.com
contato@andre-arthur.com
http://vimeo.com/andrearthur
http://www.facebook.com/AndreArthurPhoto
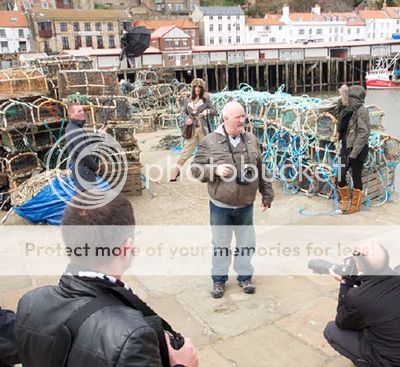
 This was from the set just before we broke for lunch… yep the brightest part of the day! On a commercial shoot I’d probably choose not to shoot at this time of day but as I had 10 eager delegates in tow it would have been churlish not to.
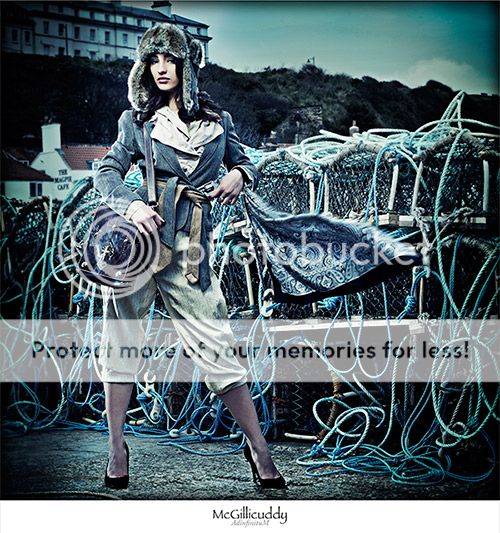 square crop mode so I could maximise every pixel within the composition